How we made a 2-bedroom apartment into a (sort of) 3-bedroom
/
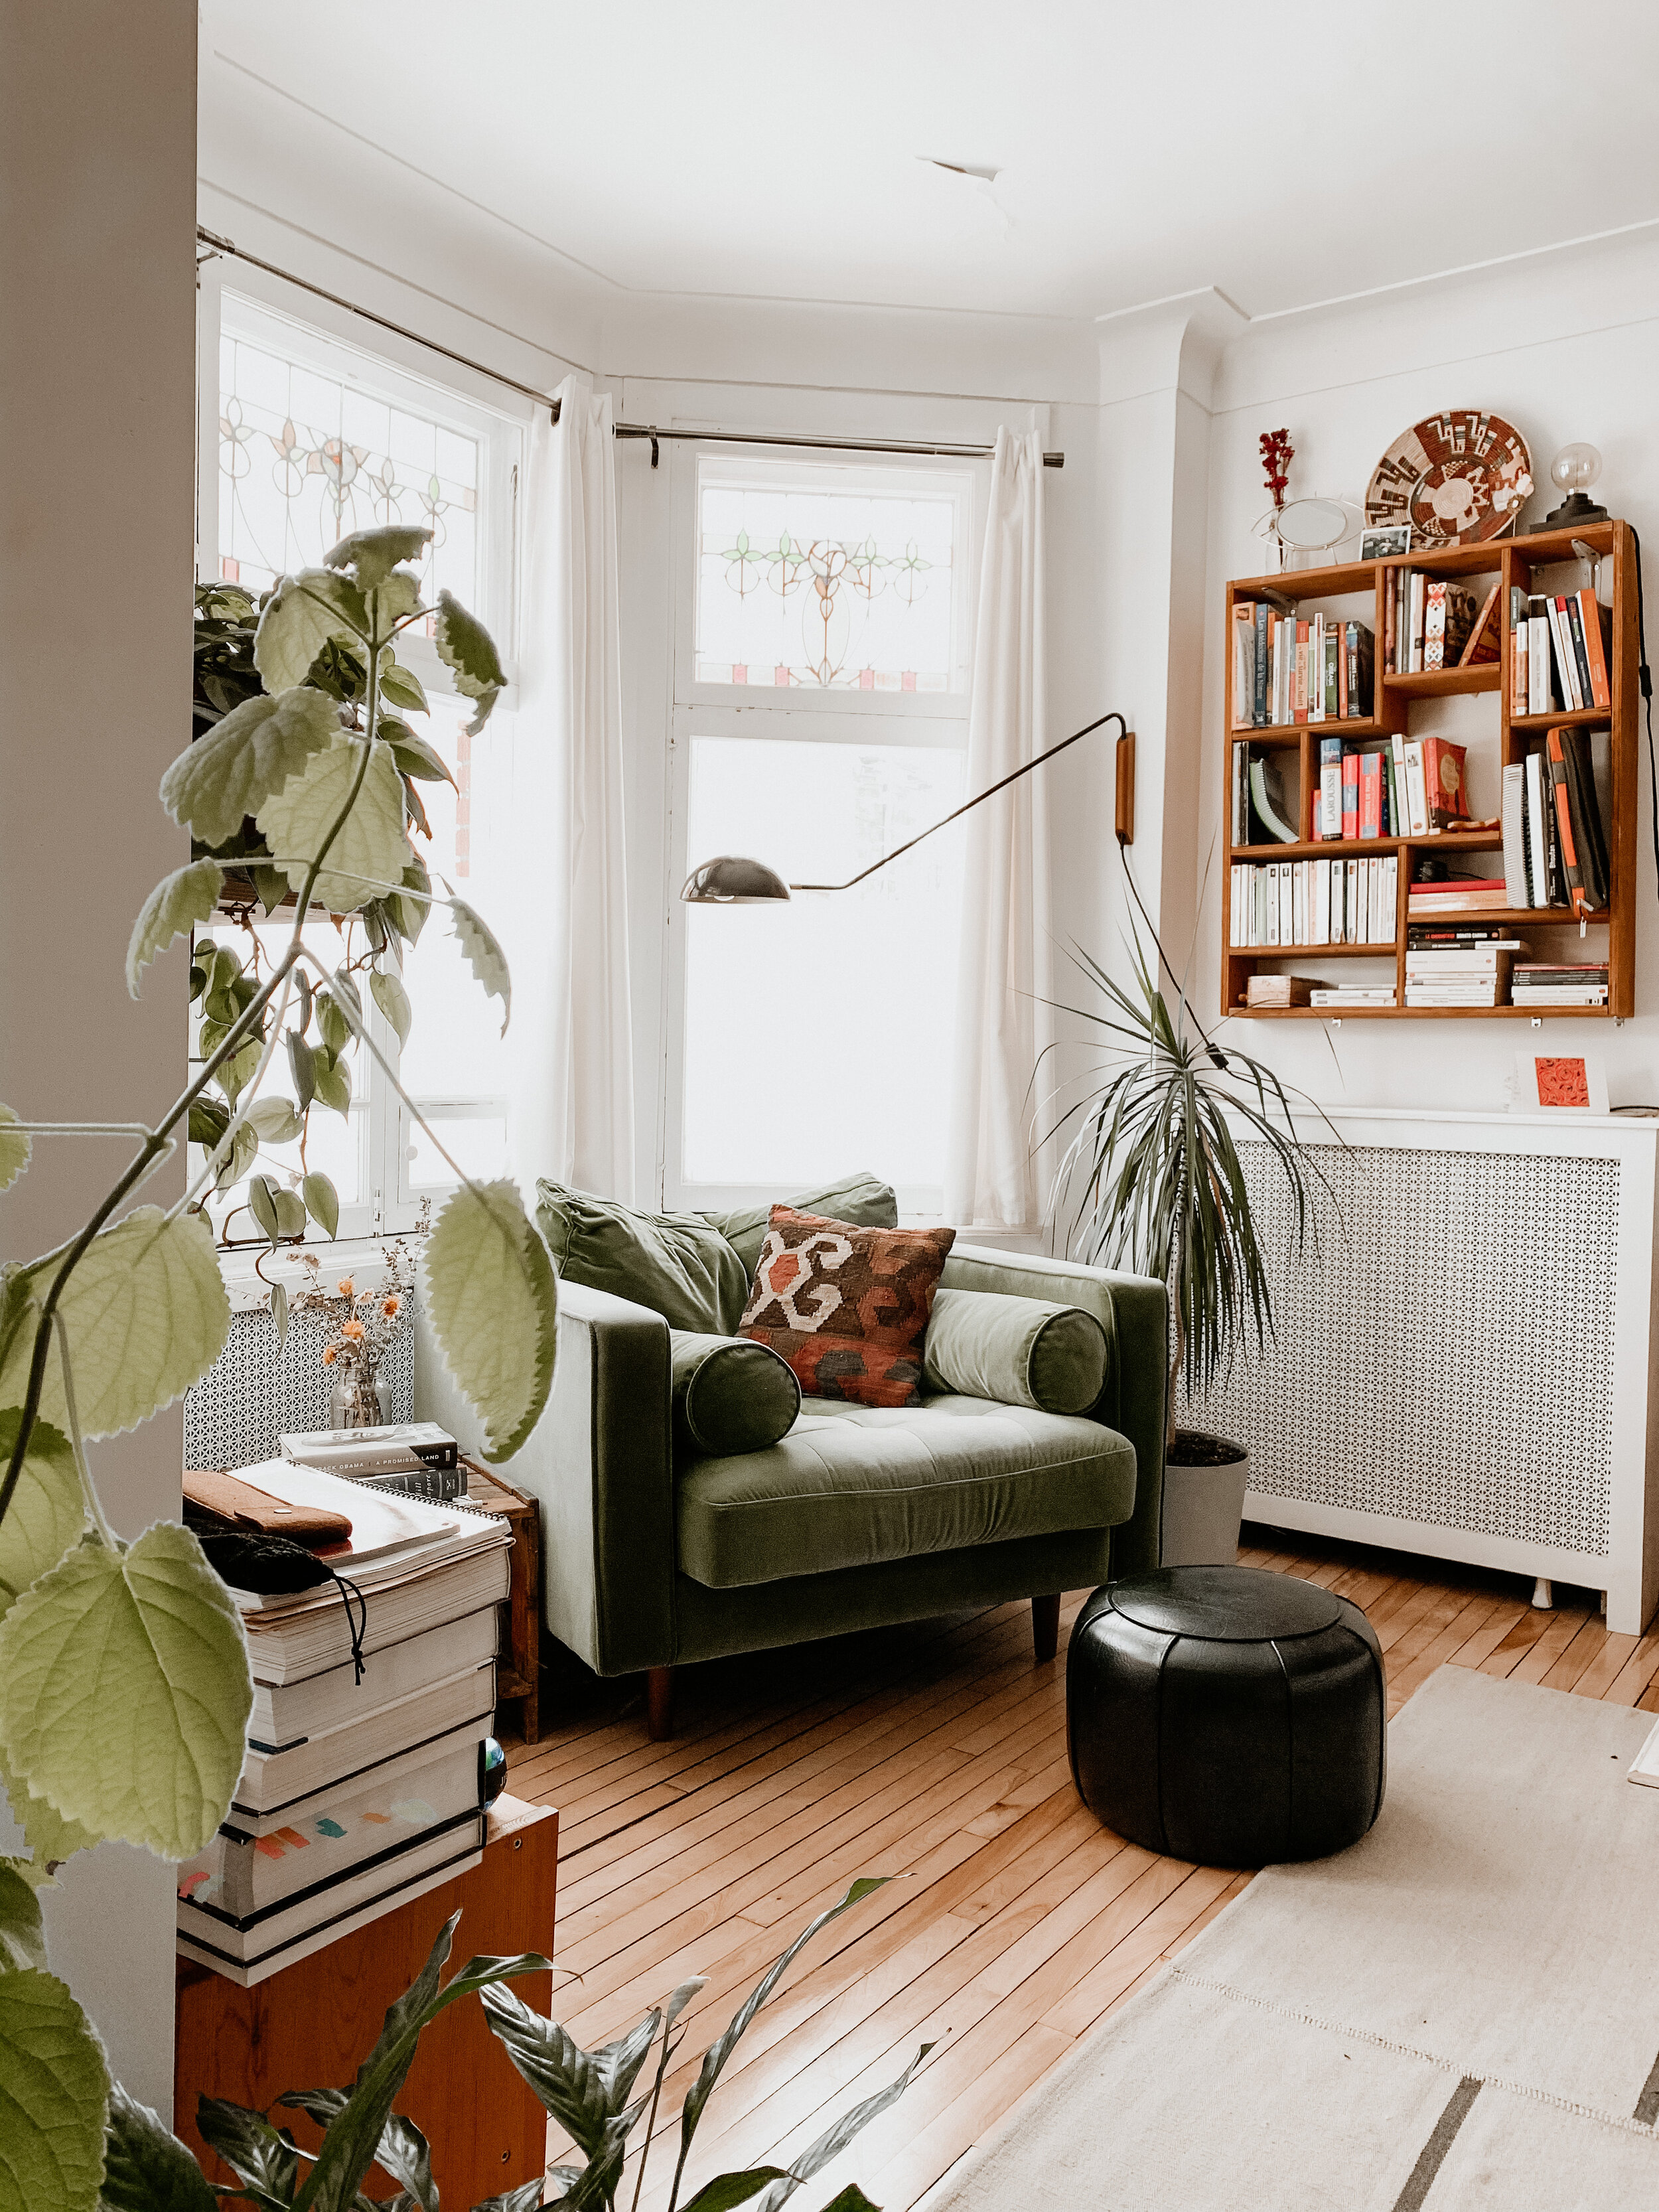
One of my favorite features in this place: the big bay window, perfect for an oversized comfy chair.
My approach to interior design is this: find inspiration online (ok, Instagram), slowly pick away at projects with agonizing indecision, get frustrated and give up for awhile, come at it again with a fresh enough perspective to finally make a decision. Repeat. (Come to think of it, that’s also my approach to blogging. And exercise.)
And then we usually end up moving before anything really feels finished. Ahhhh haha.
But this apartment has been home for nearly 2 years now, and by the time we move again next year it will have been the longest we’ve lived in one place since I came to Québec in 2013. And this one feels like home now.
It’s definitely a good size space for a couple; it has two closed bedrooms, separate living and dining areas, plus a full kitchen. When we were a family of 3, it was just right. Everybody had their own room! Though, adding a second baby to the mix was asking it to stretch its limits a bit.
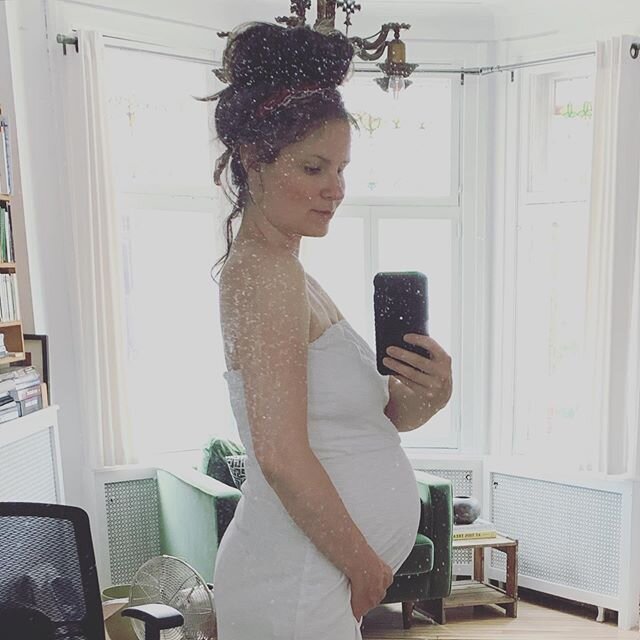
Last summer we did a pretty significant reconfiguration in anticipation of Léo’s birth. As his arrival was a bit less planned than Benji’s (ha!), we hadn’t chosen this place with a second child in mind. But the idea of moving again at that point was not attractive, especially in anticipation of another move when Mat graduates in 2022. So we came up with a solution that may sound a little nuts on the first take, but actually works pretty well, at least short-term.
We basically “transformed” our 2-bedroom into a 3-bedroom, with only minor awkwardnesses. Before we started shuffling things around, I was about a year-and-a-half into my “design” project, which is to say, making the place feel cozy and lived-in, with a touch of ‘gram worthiness. I hadn’t realized that this whole room shake-up would actually catapult my design dreams into fruition. I’ve had a lot of fun with it and feel like the place has really come together since.
I’ll get some pictures going here to explain what I mean.
Living / Dining Room
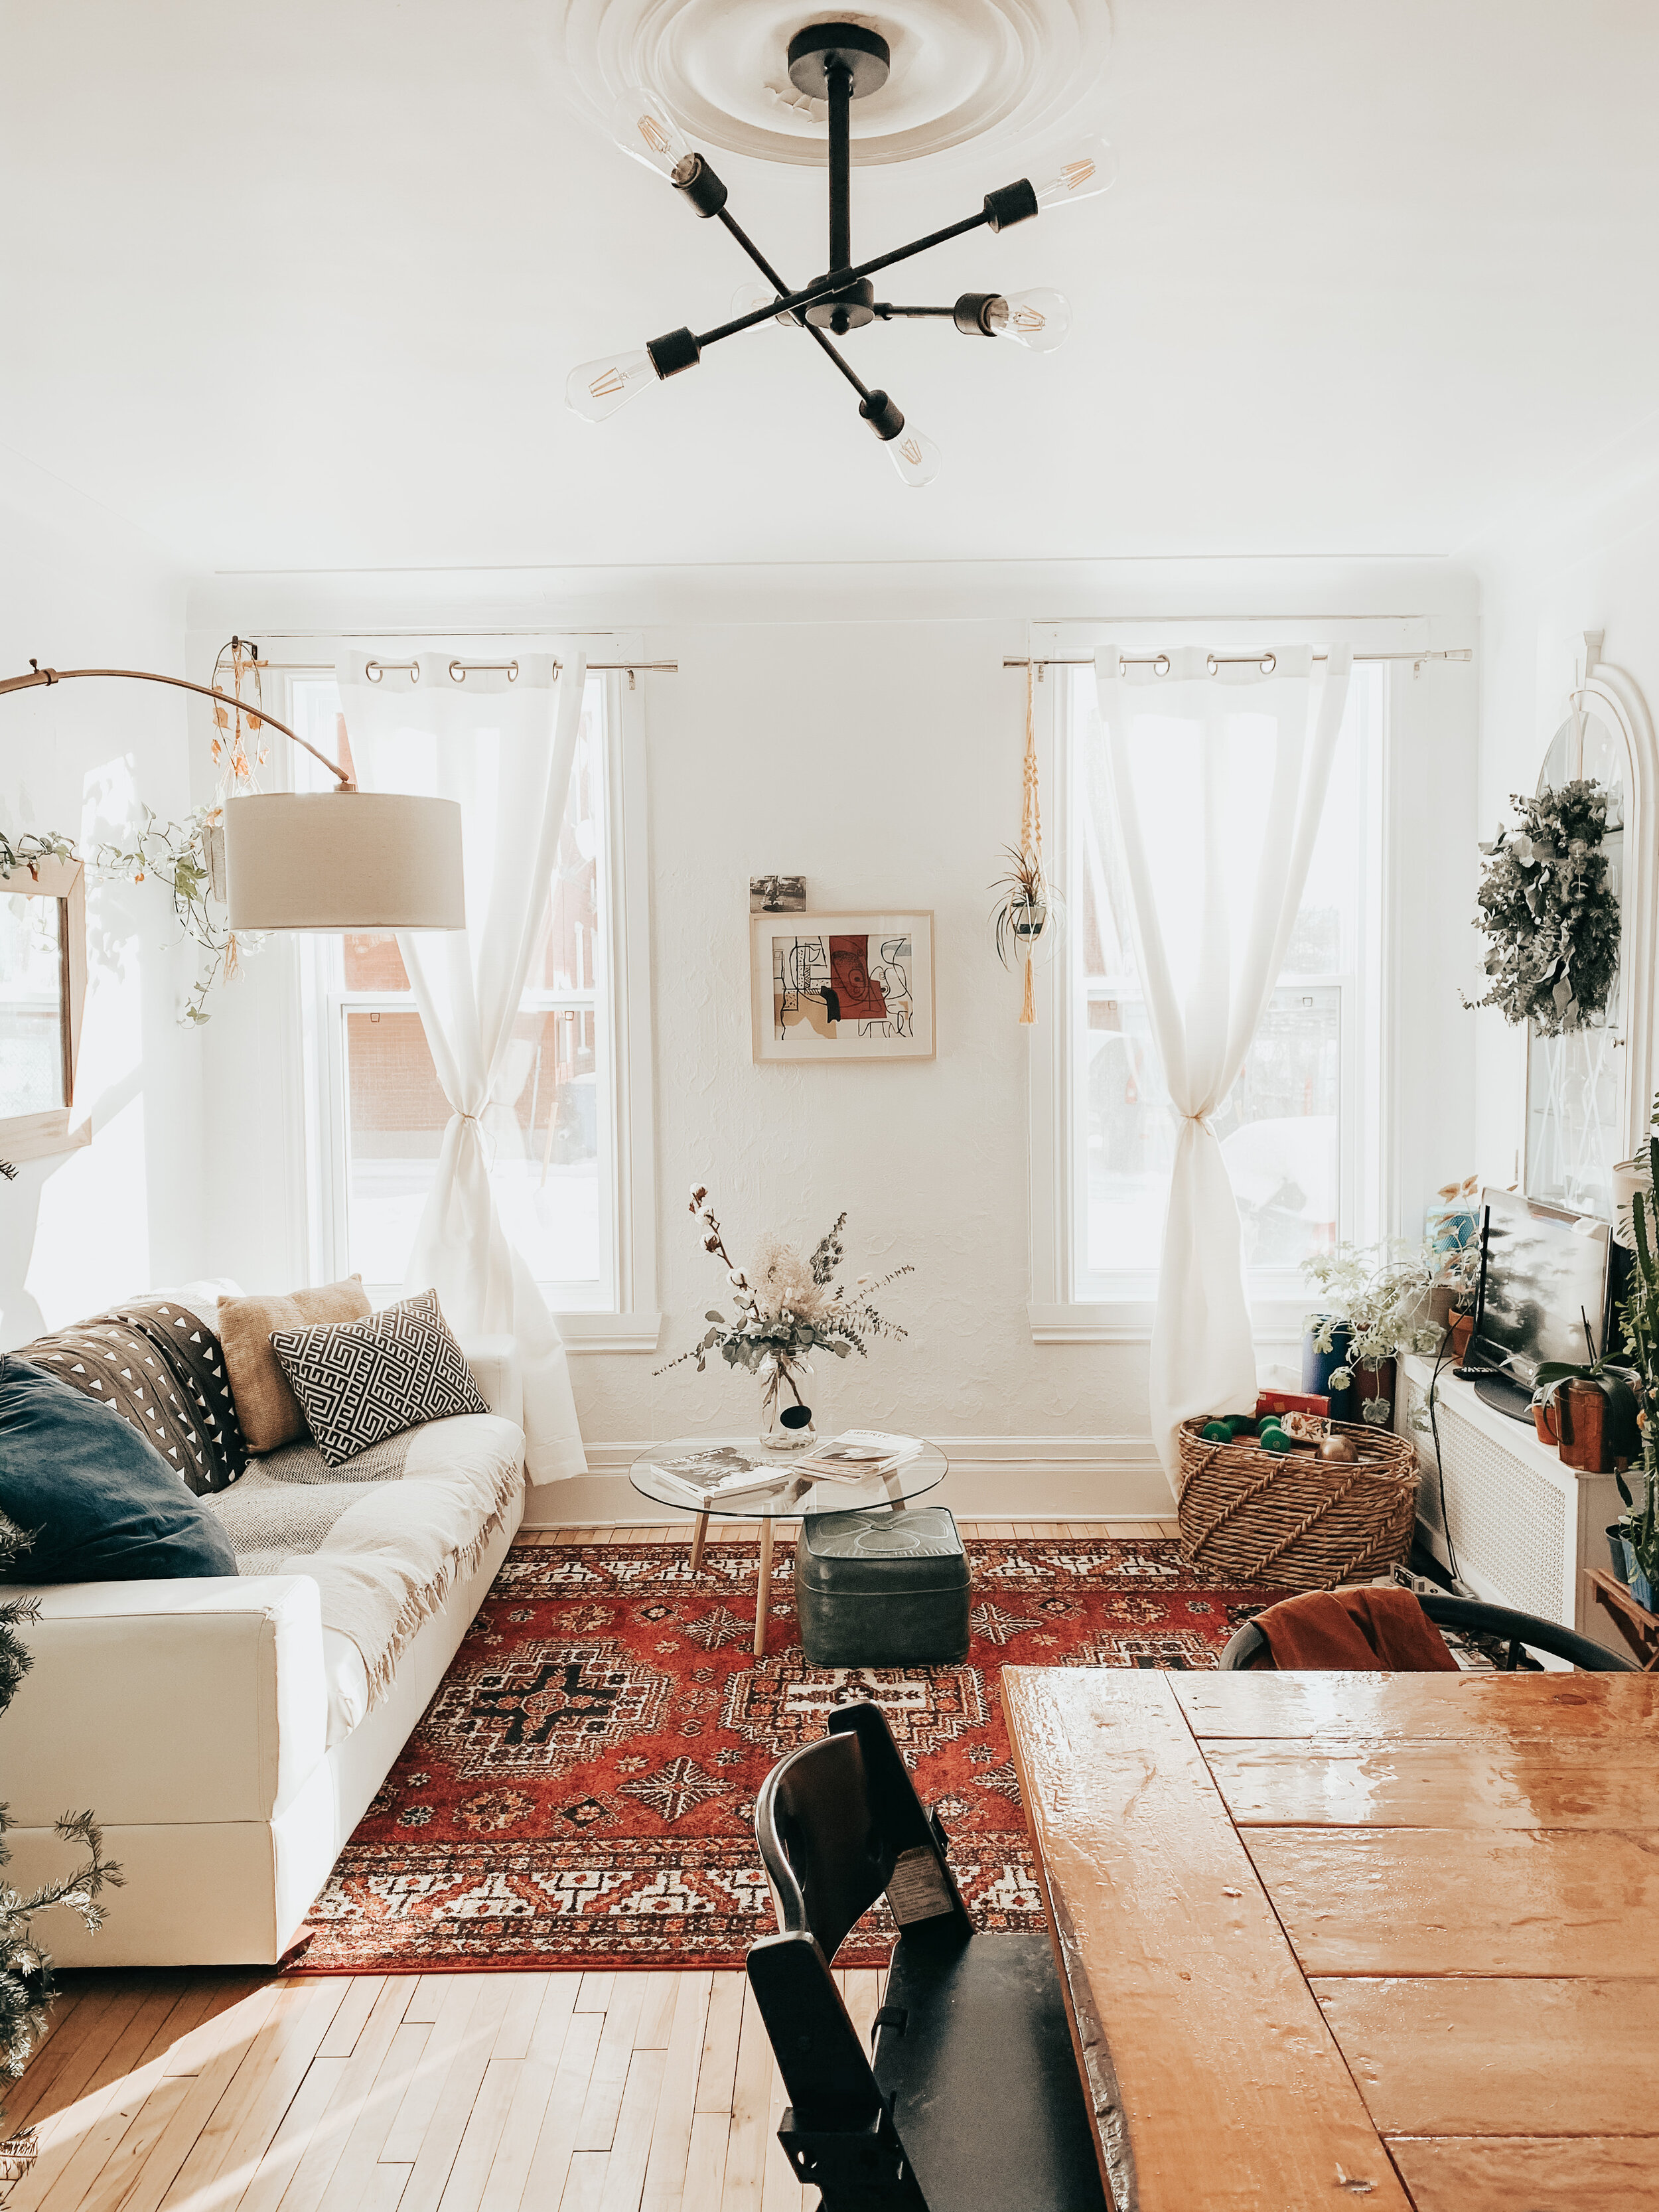
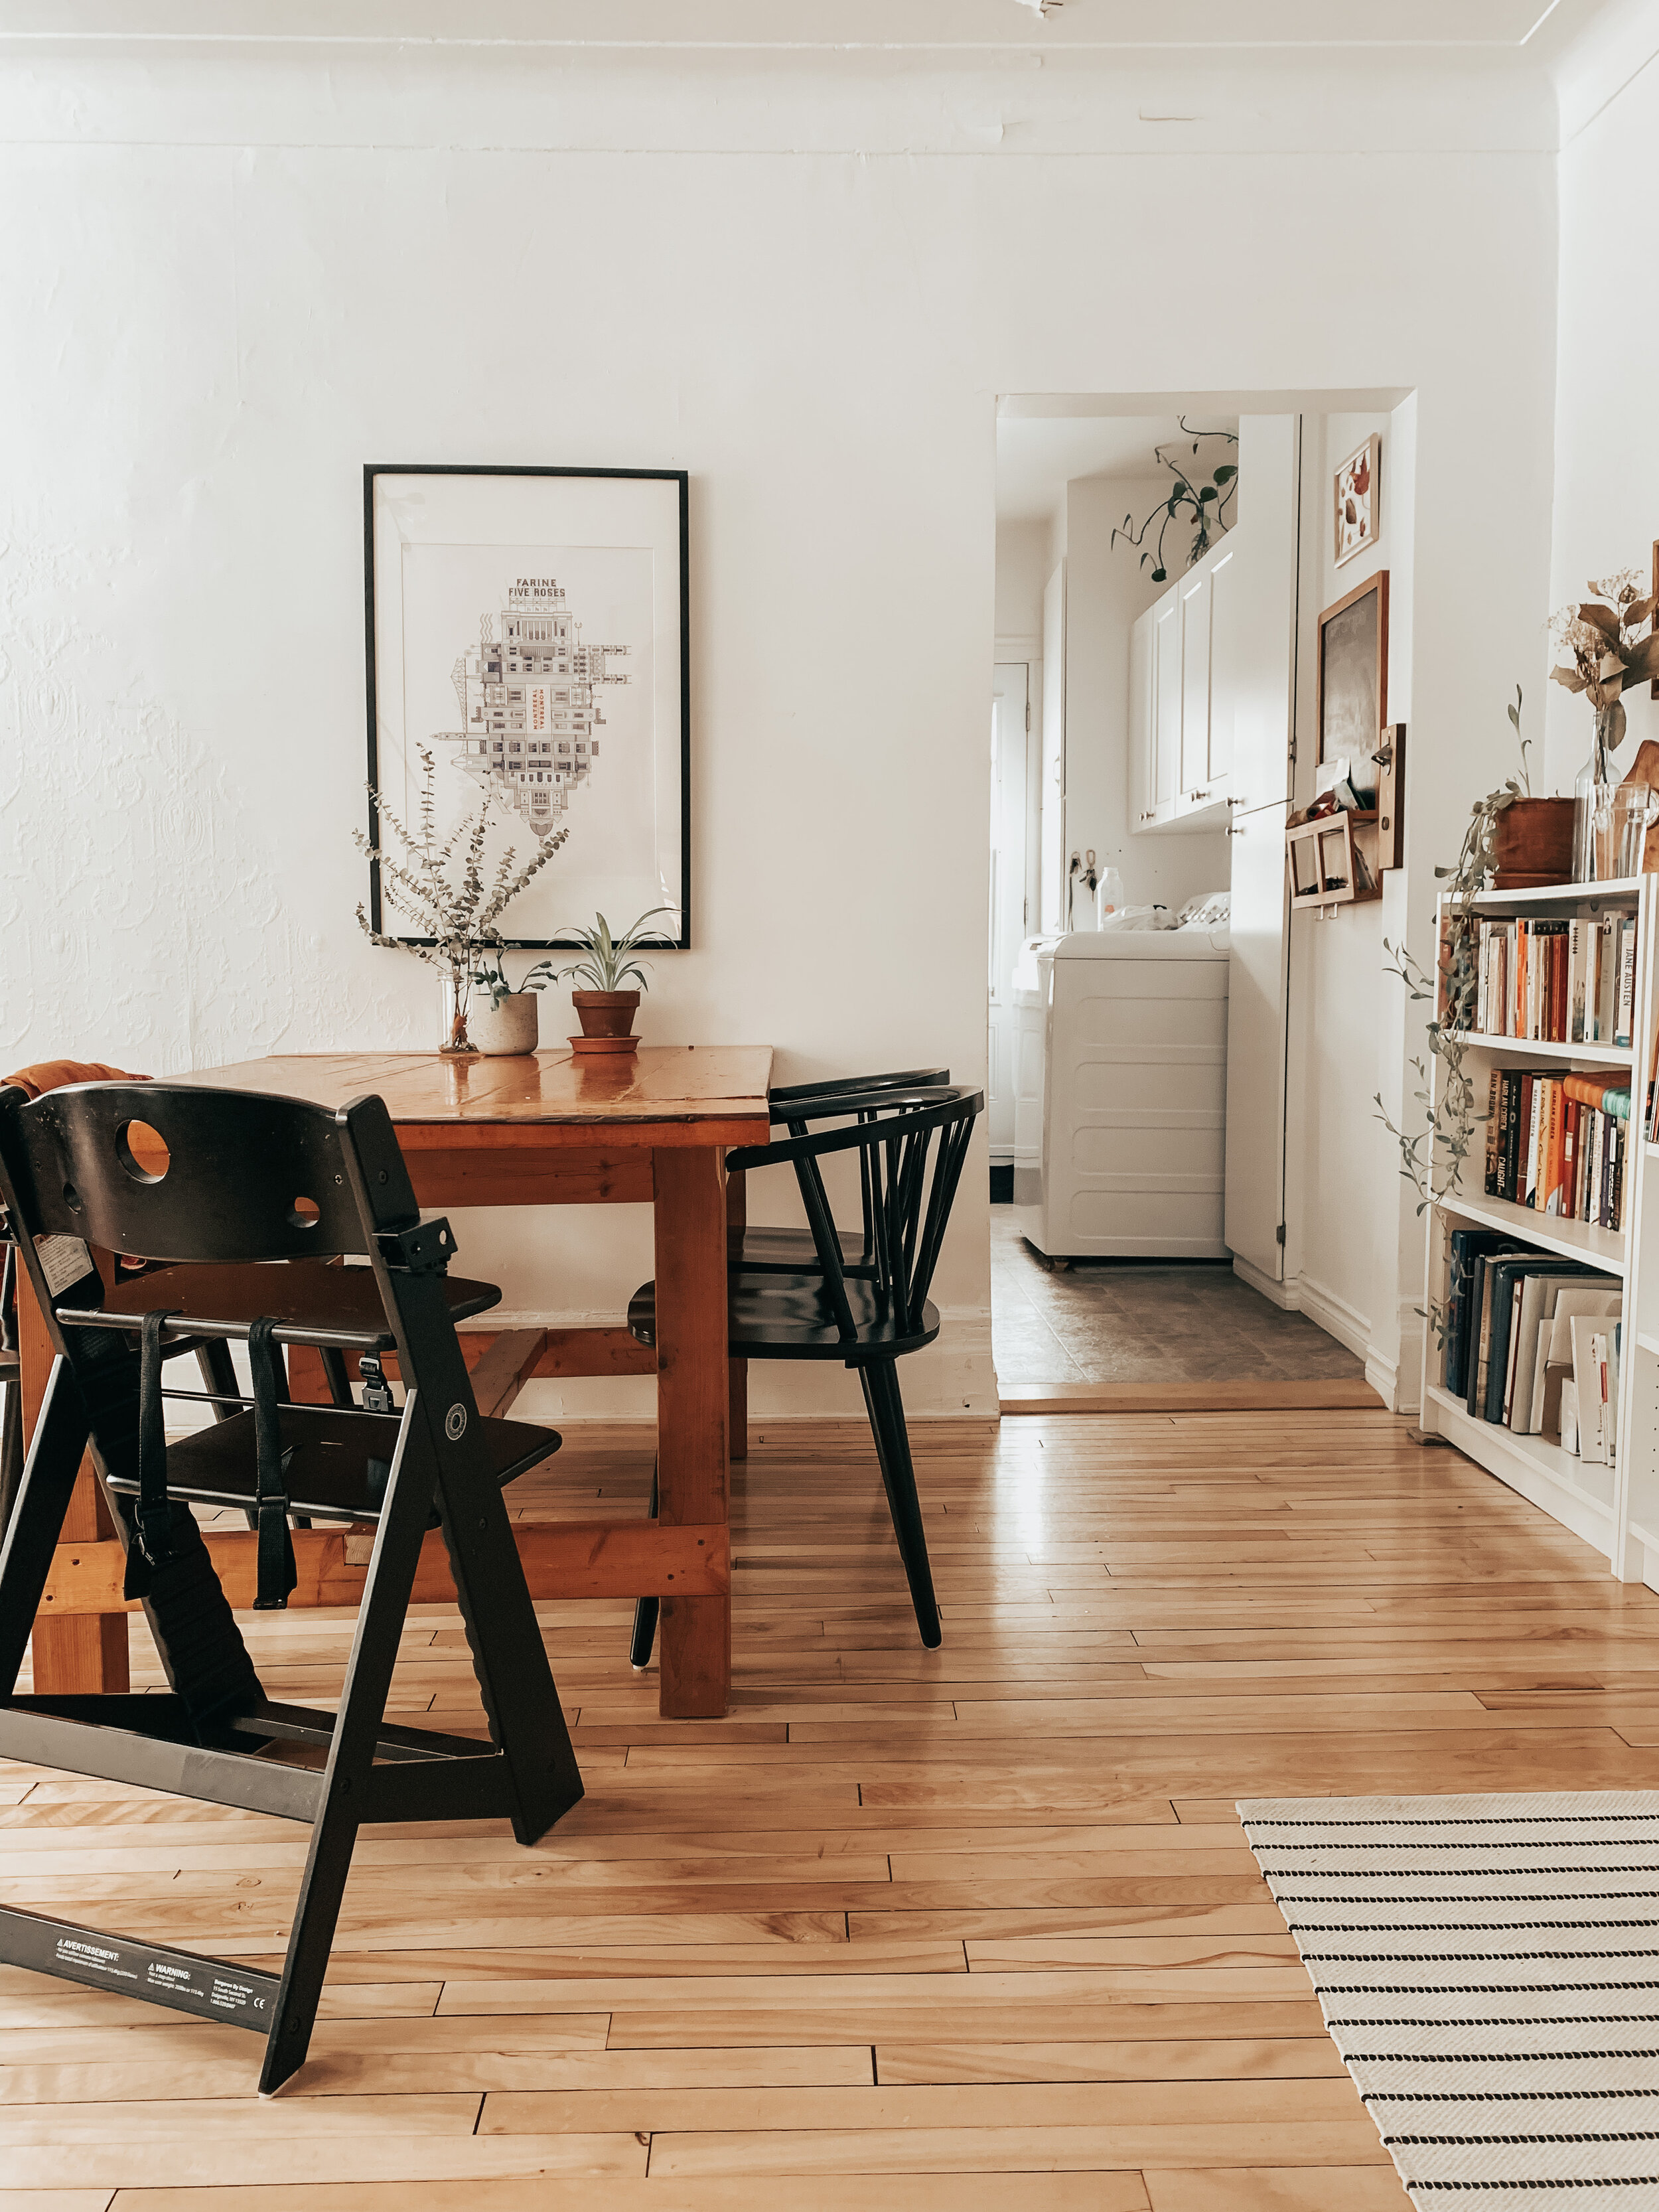
Initially, this was only the dining room. It’s oddly-shaped; the corridor basically runs through the back of it, giving it a large “feel”, but basically it’s a big three-walled alcove. While it always seemed like there was probably a way to optimize the space by adding more “chilling spots” - as Mat likes to say - we never quite got around to cracking the puzzle of how to configure it. It makes most sense as a dining area, being just off the kitchen. And since we had a living room area already, we were fine with the way things initially settled.
Though when we had a reason to really explore the possibilities, we came up with the configuration you see in the photos here, and we love it so much! It really maximizes the room, and brings the living space closer to the kitchen and dining, where it better suits our contemporary sensibilities of clustering these spaces together (ideally in an open plan, but, eh, the building was constructed in the 1920s, what are we gonna do?)
The biggest project to knock out to make this happen was shrinking the dining table, which had taken up the entire room when at its original size (approximately: huge). So Mat, who built it, spent a week or so taking it apart, cutting it down, putting it back together, and adding a nice shiny coat (or three) of epoxy. It used to fit about 8 chairs when pulled away from the wall, which was nice, but we rarely used it at its capacity. Now it comfortably seats 5, which is really more practical not only for the space but for our actual use. And with the extra room, we were able to move the couch, coffee table and rug from what was previously the living room to create a living-dining combo.
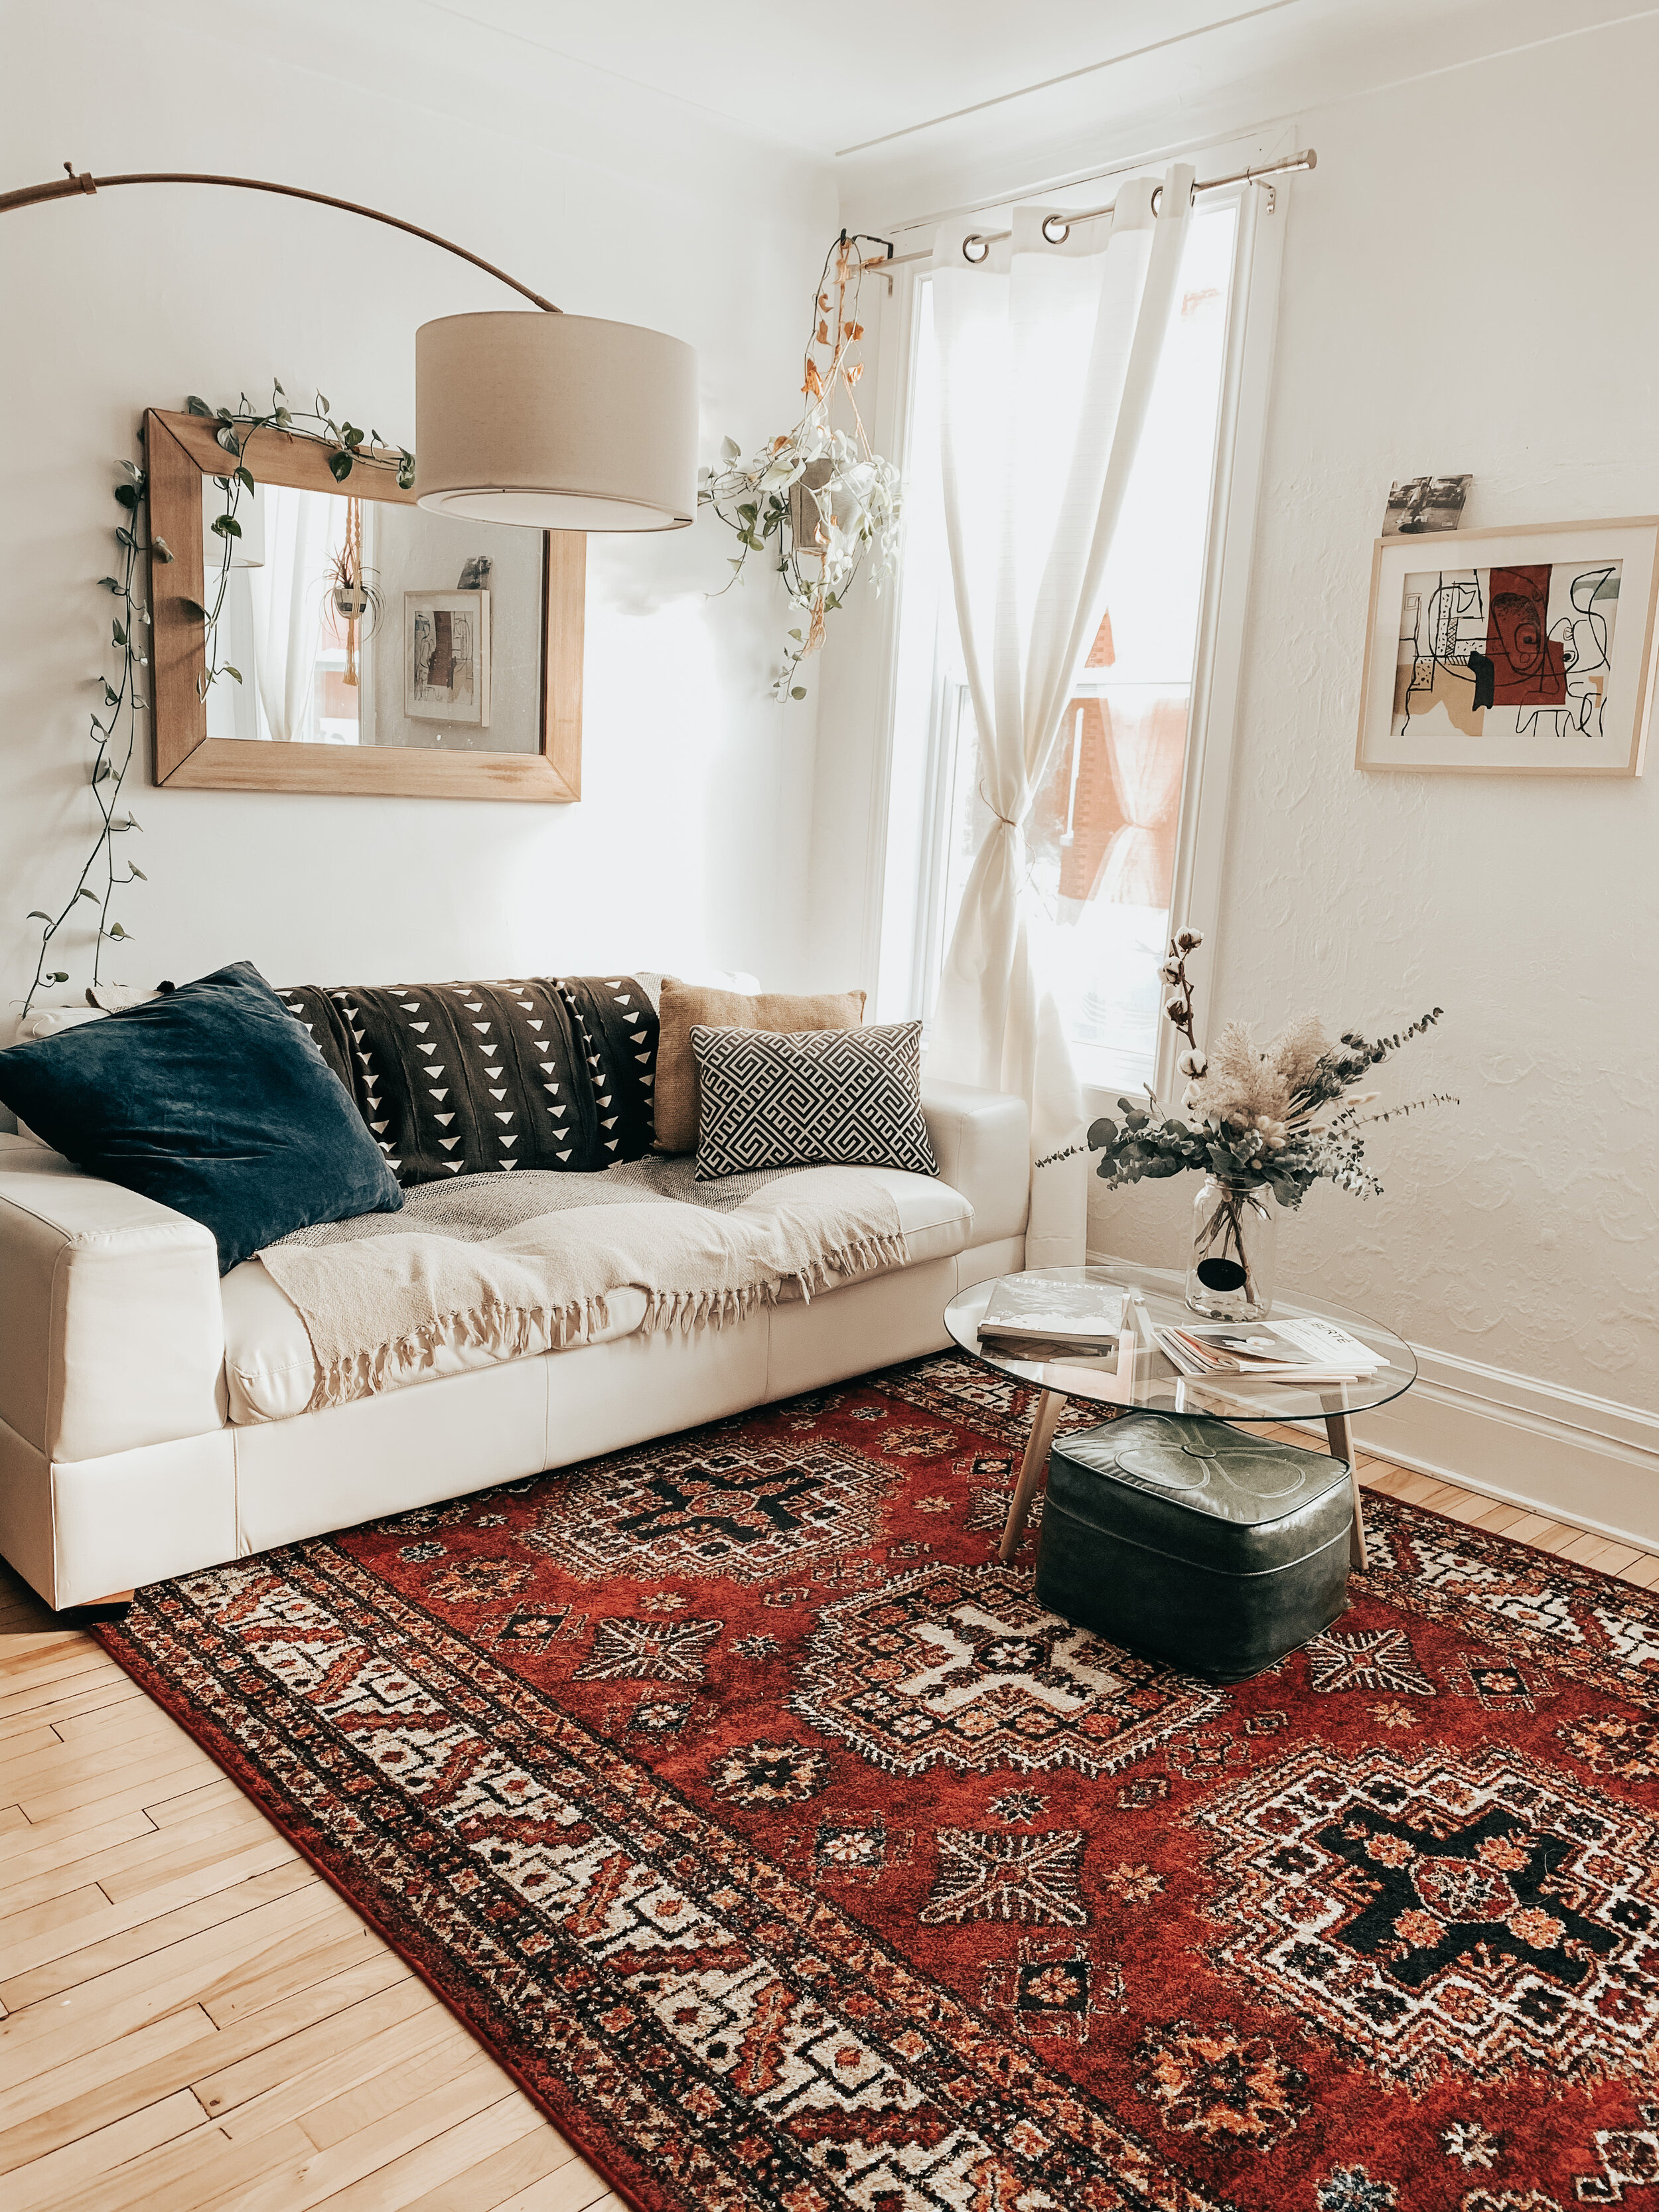
Onto what we did with the original living room.
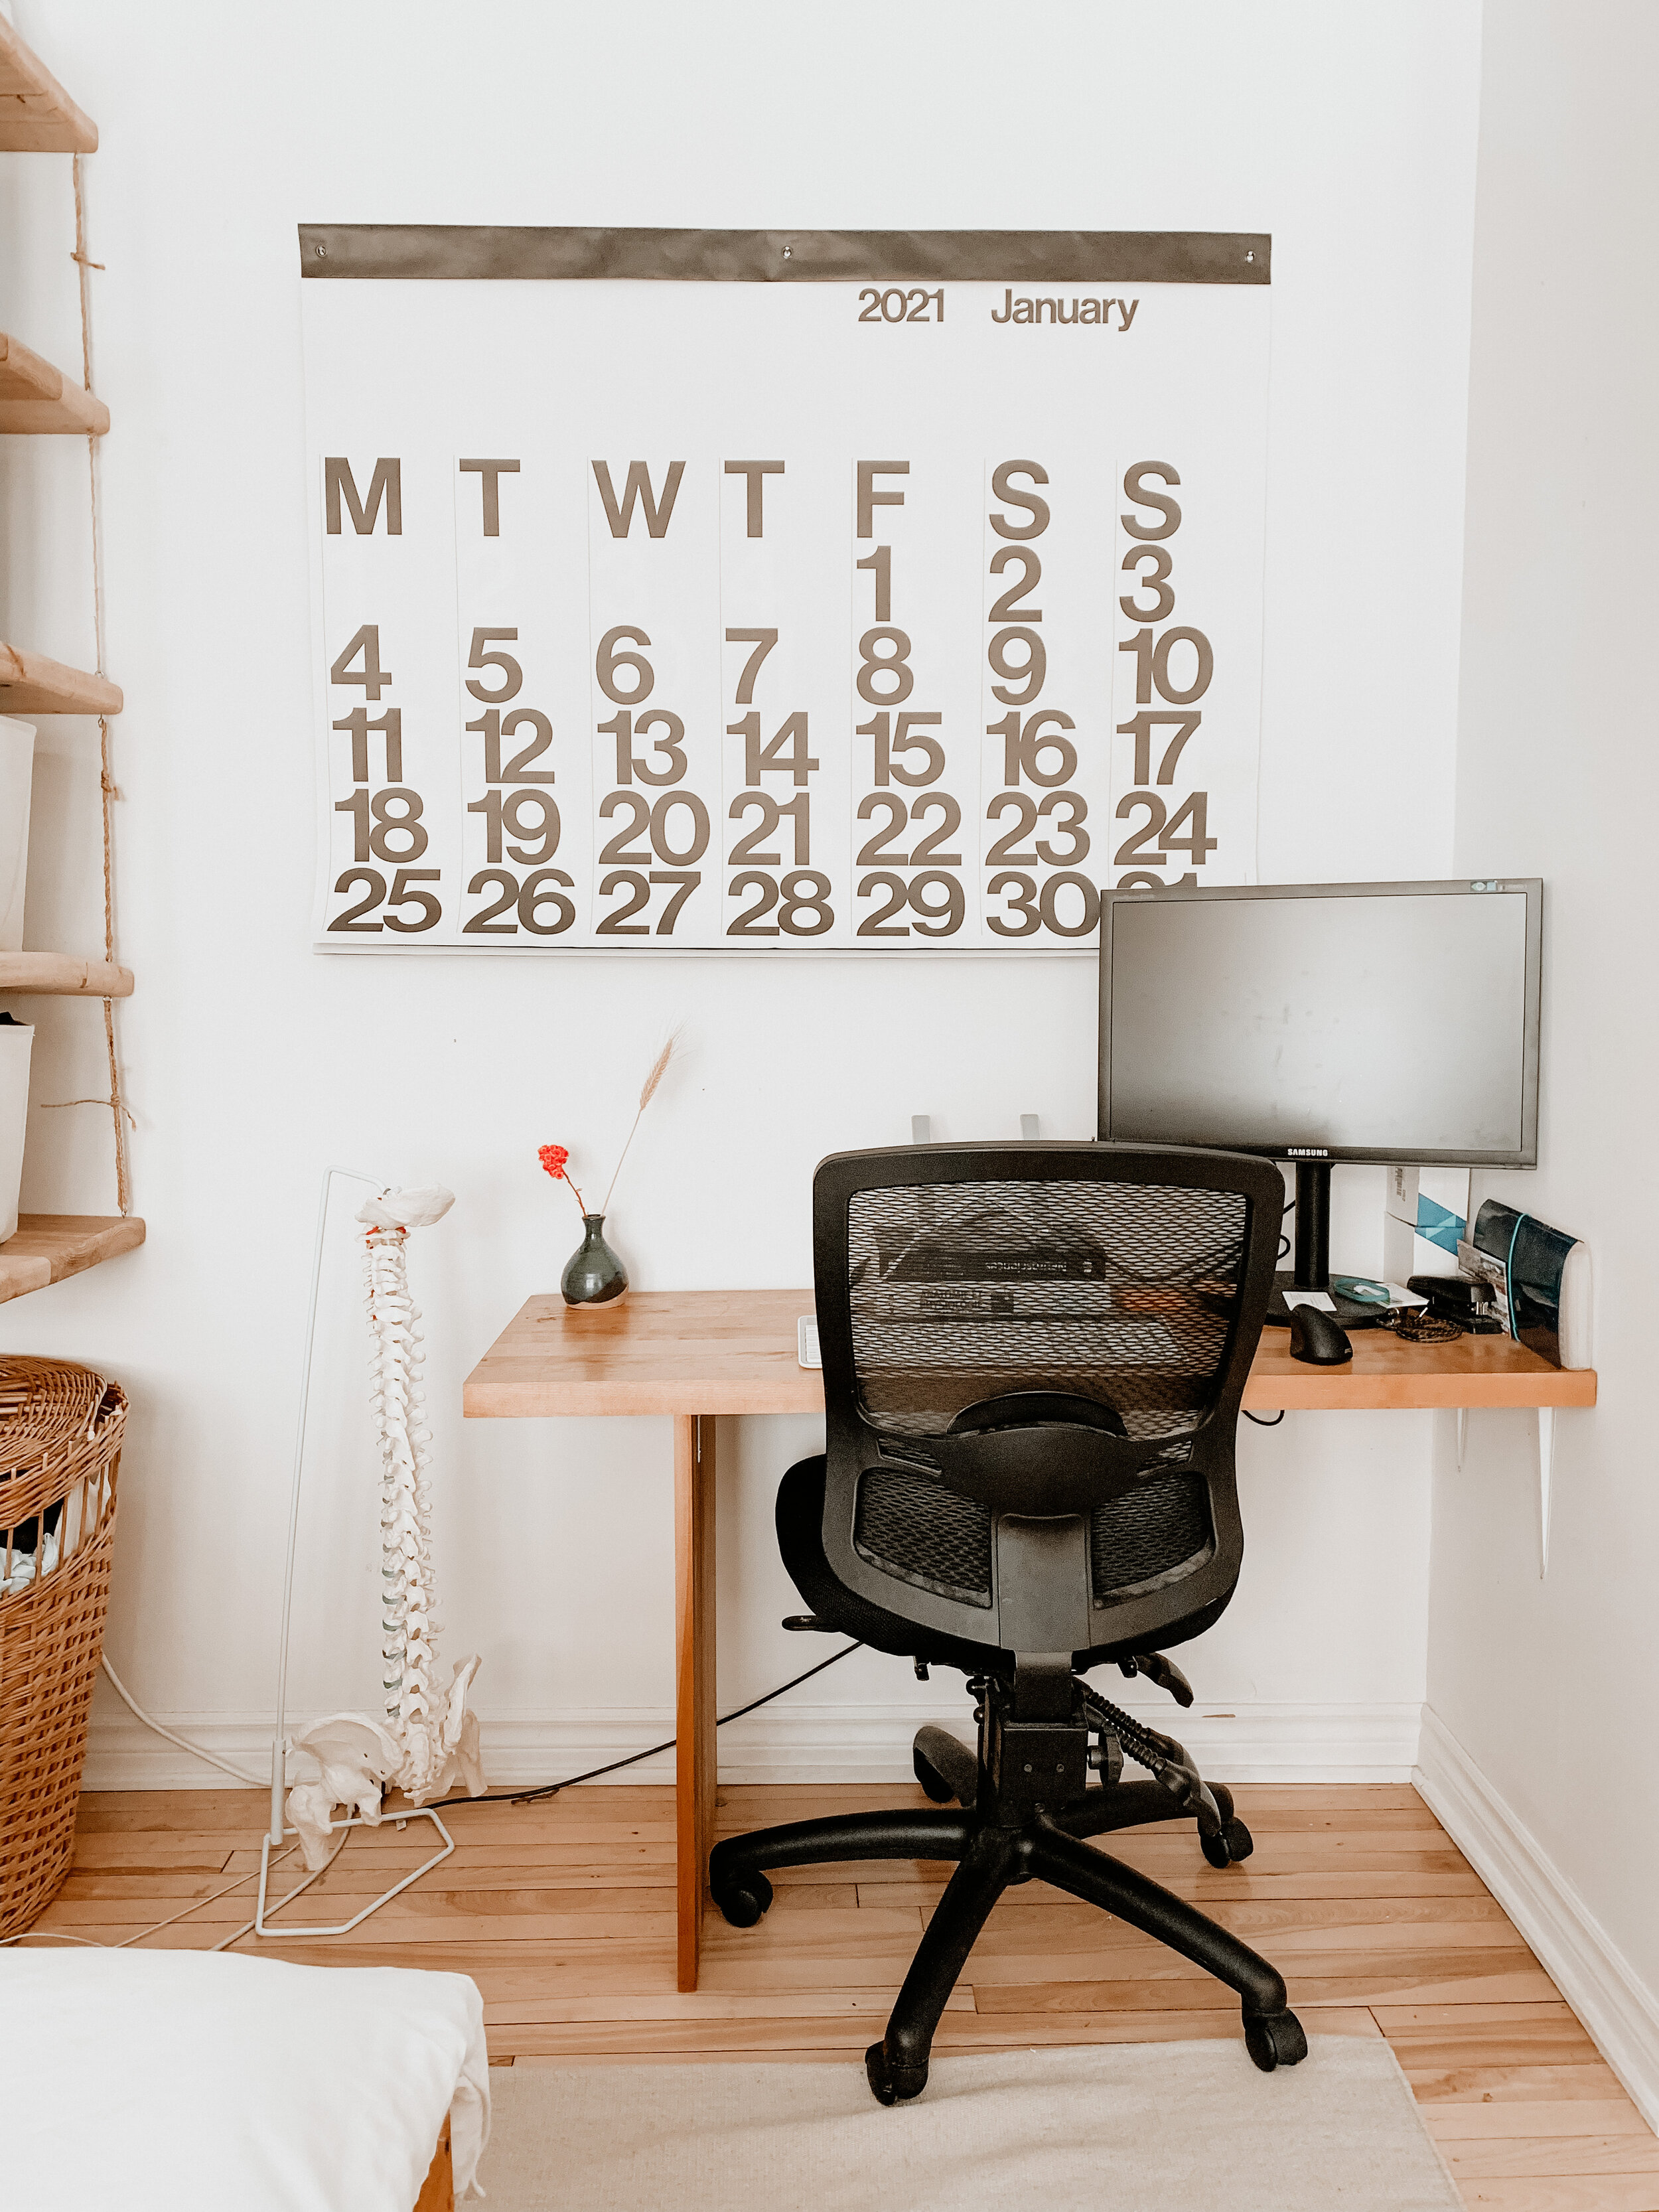
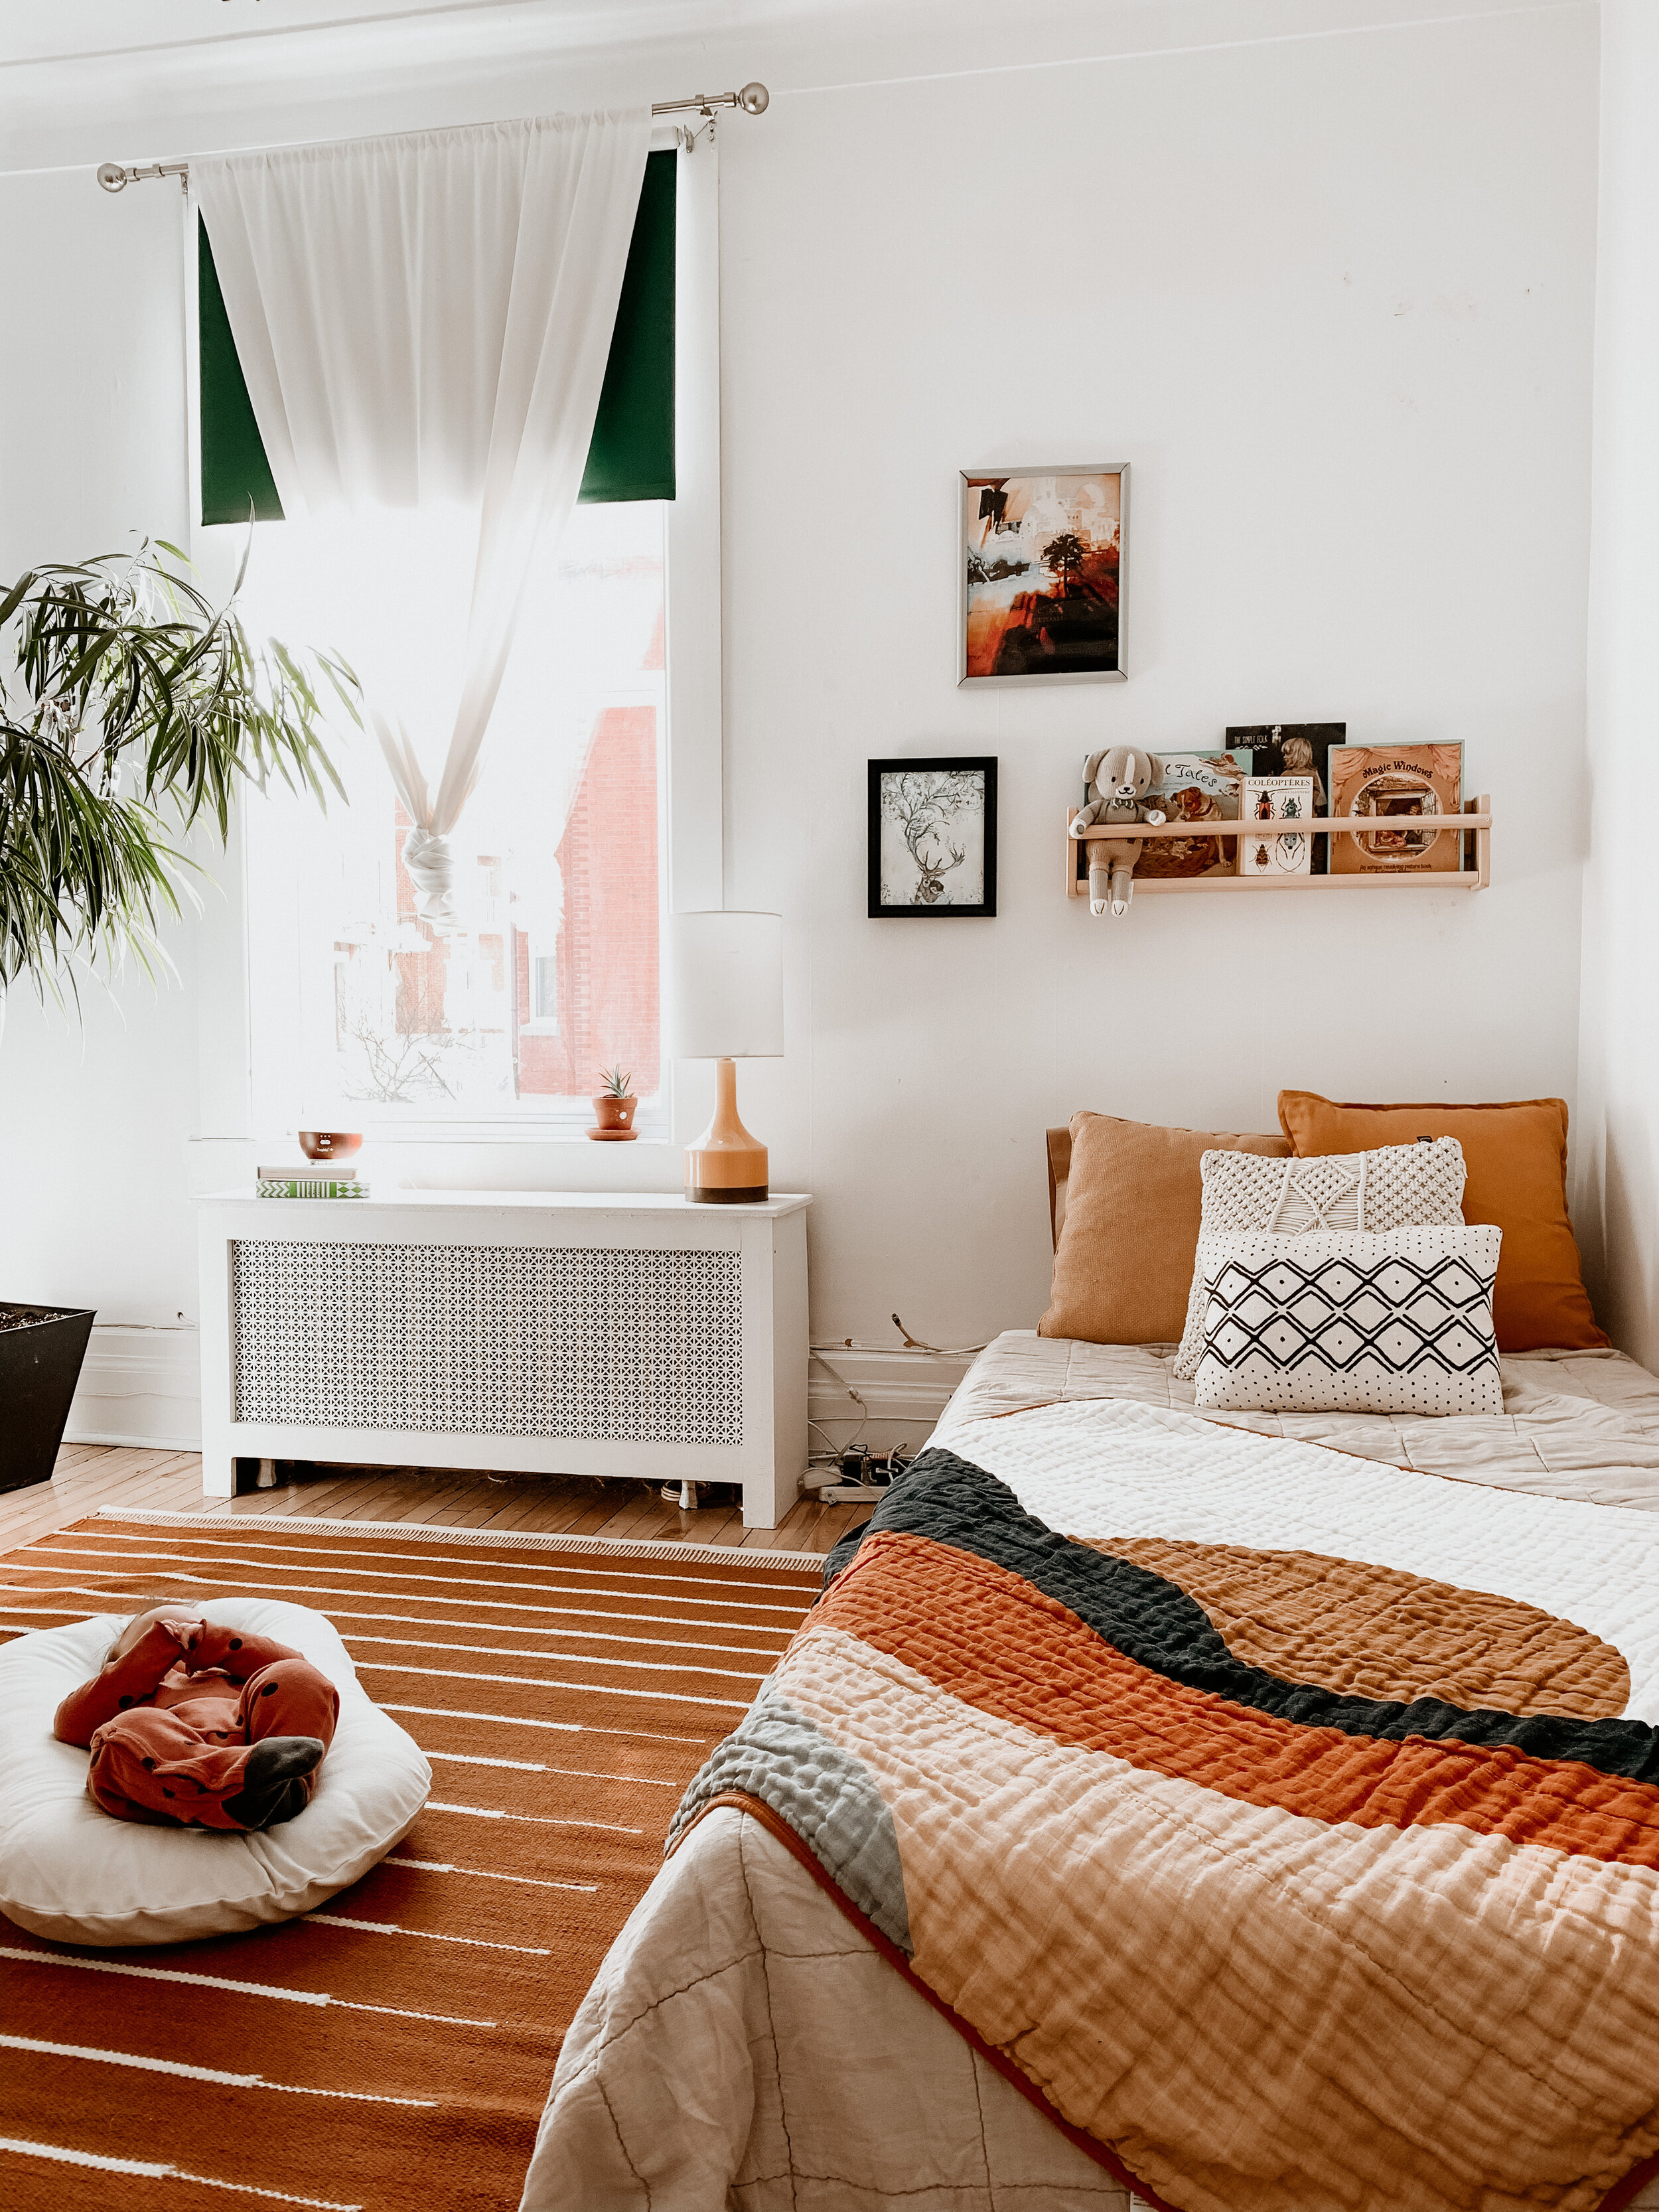
Master Bedroom / Mat’s “Office”
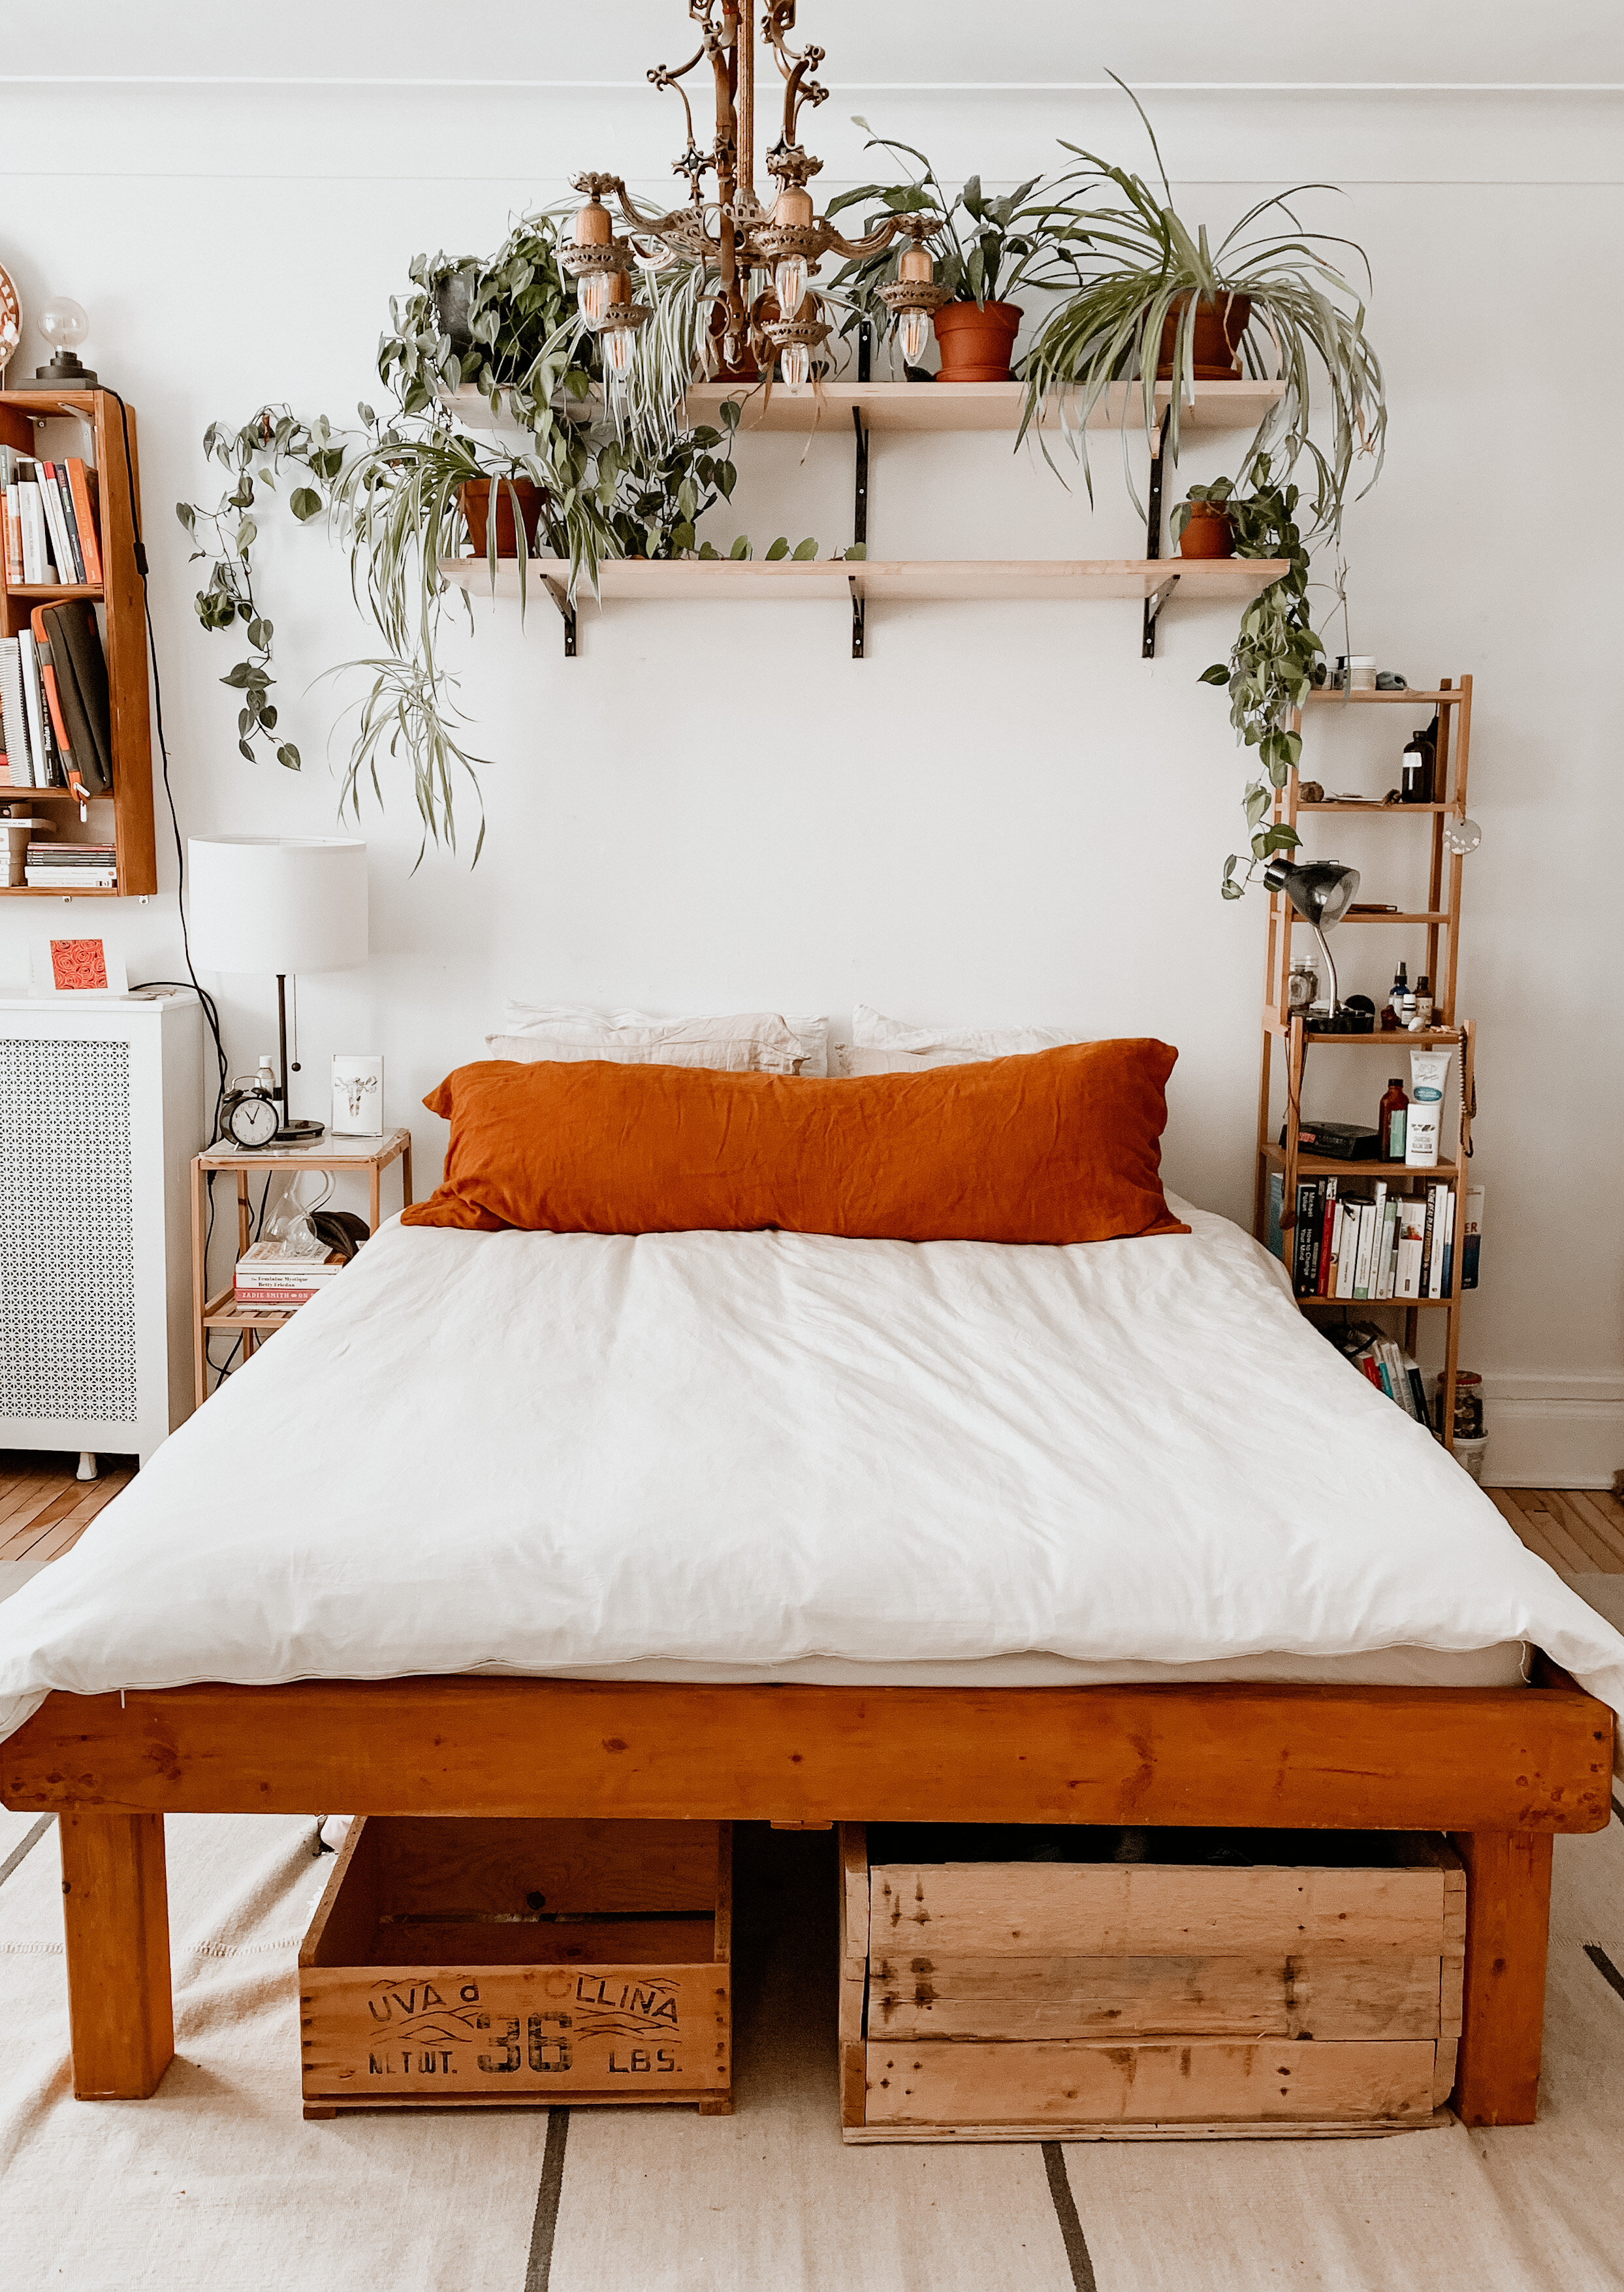
Why, yes, we do sleep in the living room next to the front door. (Ah hahahahahha).
The thing is, we rarely, if ever, use the front door as our main entrance - the back kitchen door opens up to the parking area, making it easier to come and go. Also, front-entry means first coming through the building foyer, so, two doors, before arriving at our apartment door. (SO LABORIOUS.) From the back, you have only one door. (OBVIOUS CHOICE.) We also receive guests this way for the same reason. So, the idea of making this into the master bedroom seemed less crazy, in theory. The thing that makes it awkward, though, is the rare occasion we have a first-time visitor who doesn’t know about the back entrance. Bienvenue… into our bedroom!
Seriously, this HARDLY ever happened before. Of course, then we made this change and have actually had several people arrive in the front. Ha. I always feel like I need to explain it all as I have here, but I’m probably over-reacting. I mean, how many of us had a studio apartment in Montréal (or any other city) in which the front door opens into the bedroom/living room/kitchen, whatever? It happens. I should stop being so skittish about it.
And so having vacated our previous bedroom, we were able to make a nursery for Léo.
Léo’s Nursery
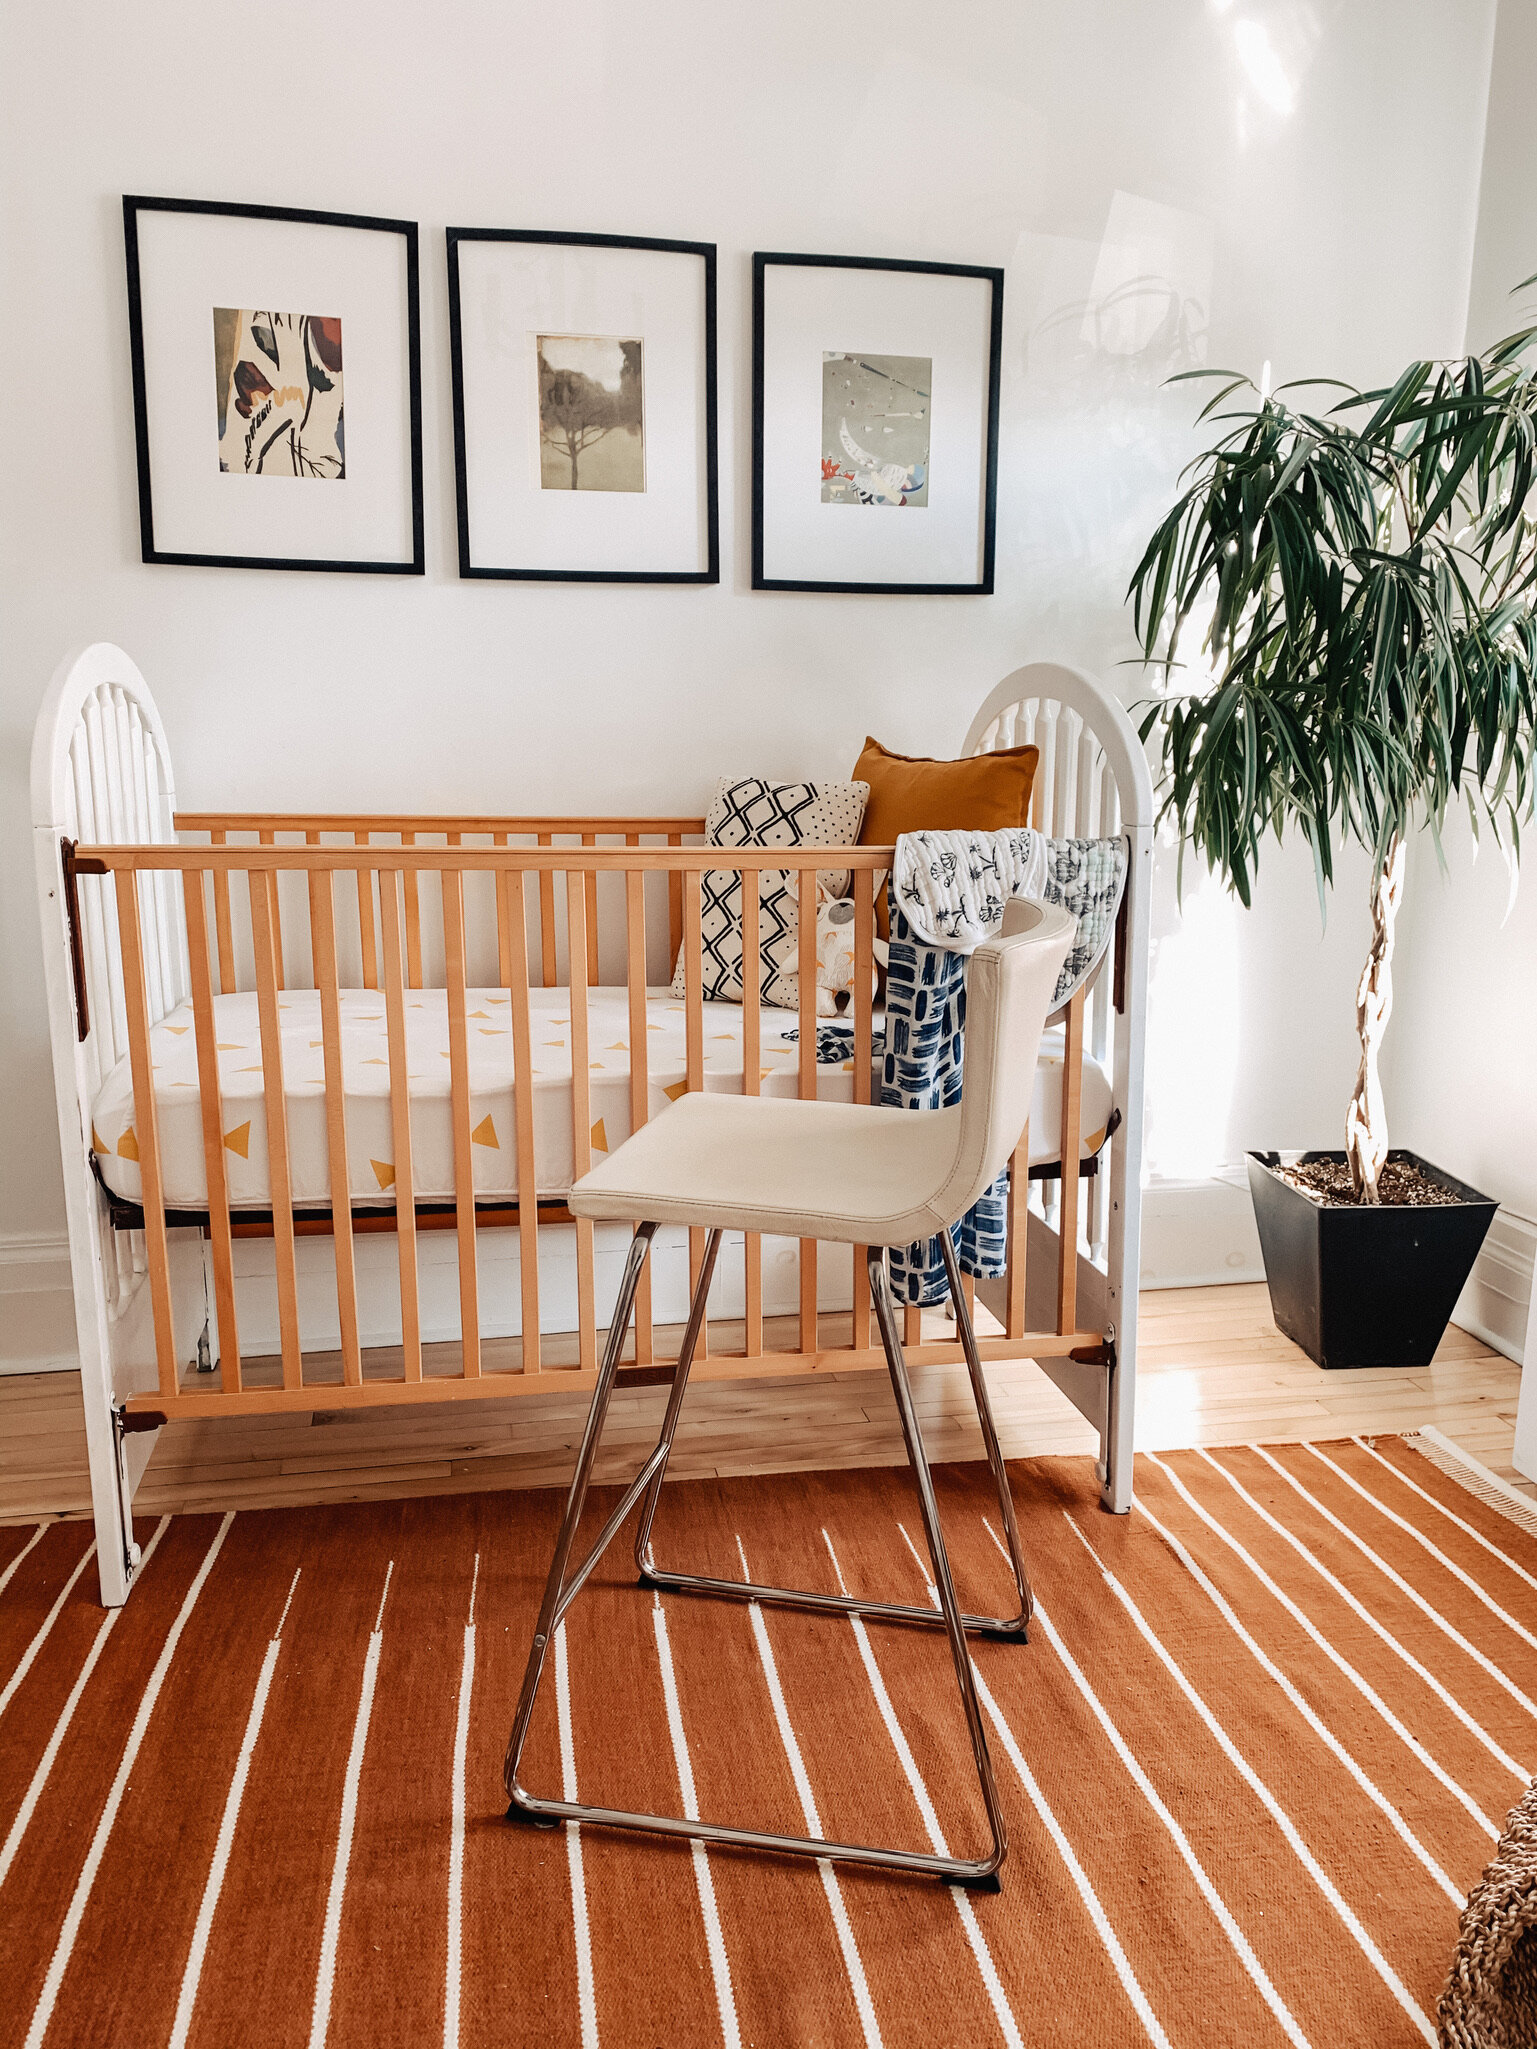
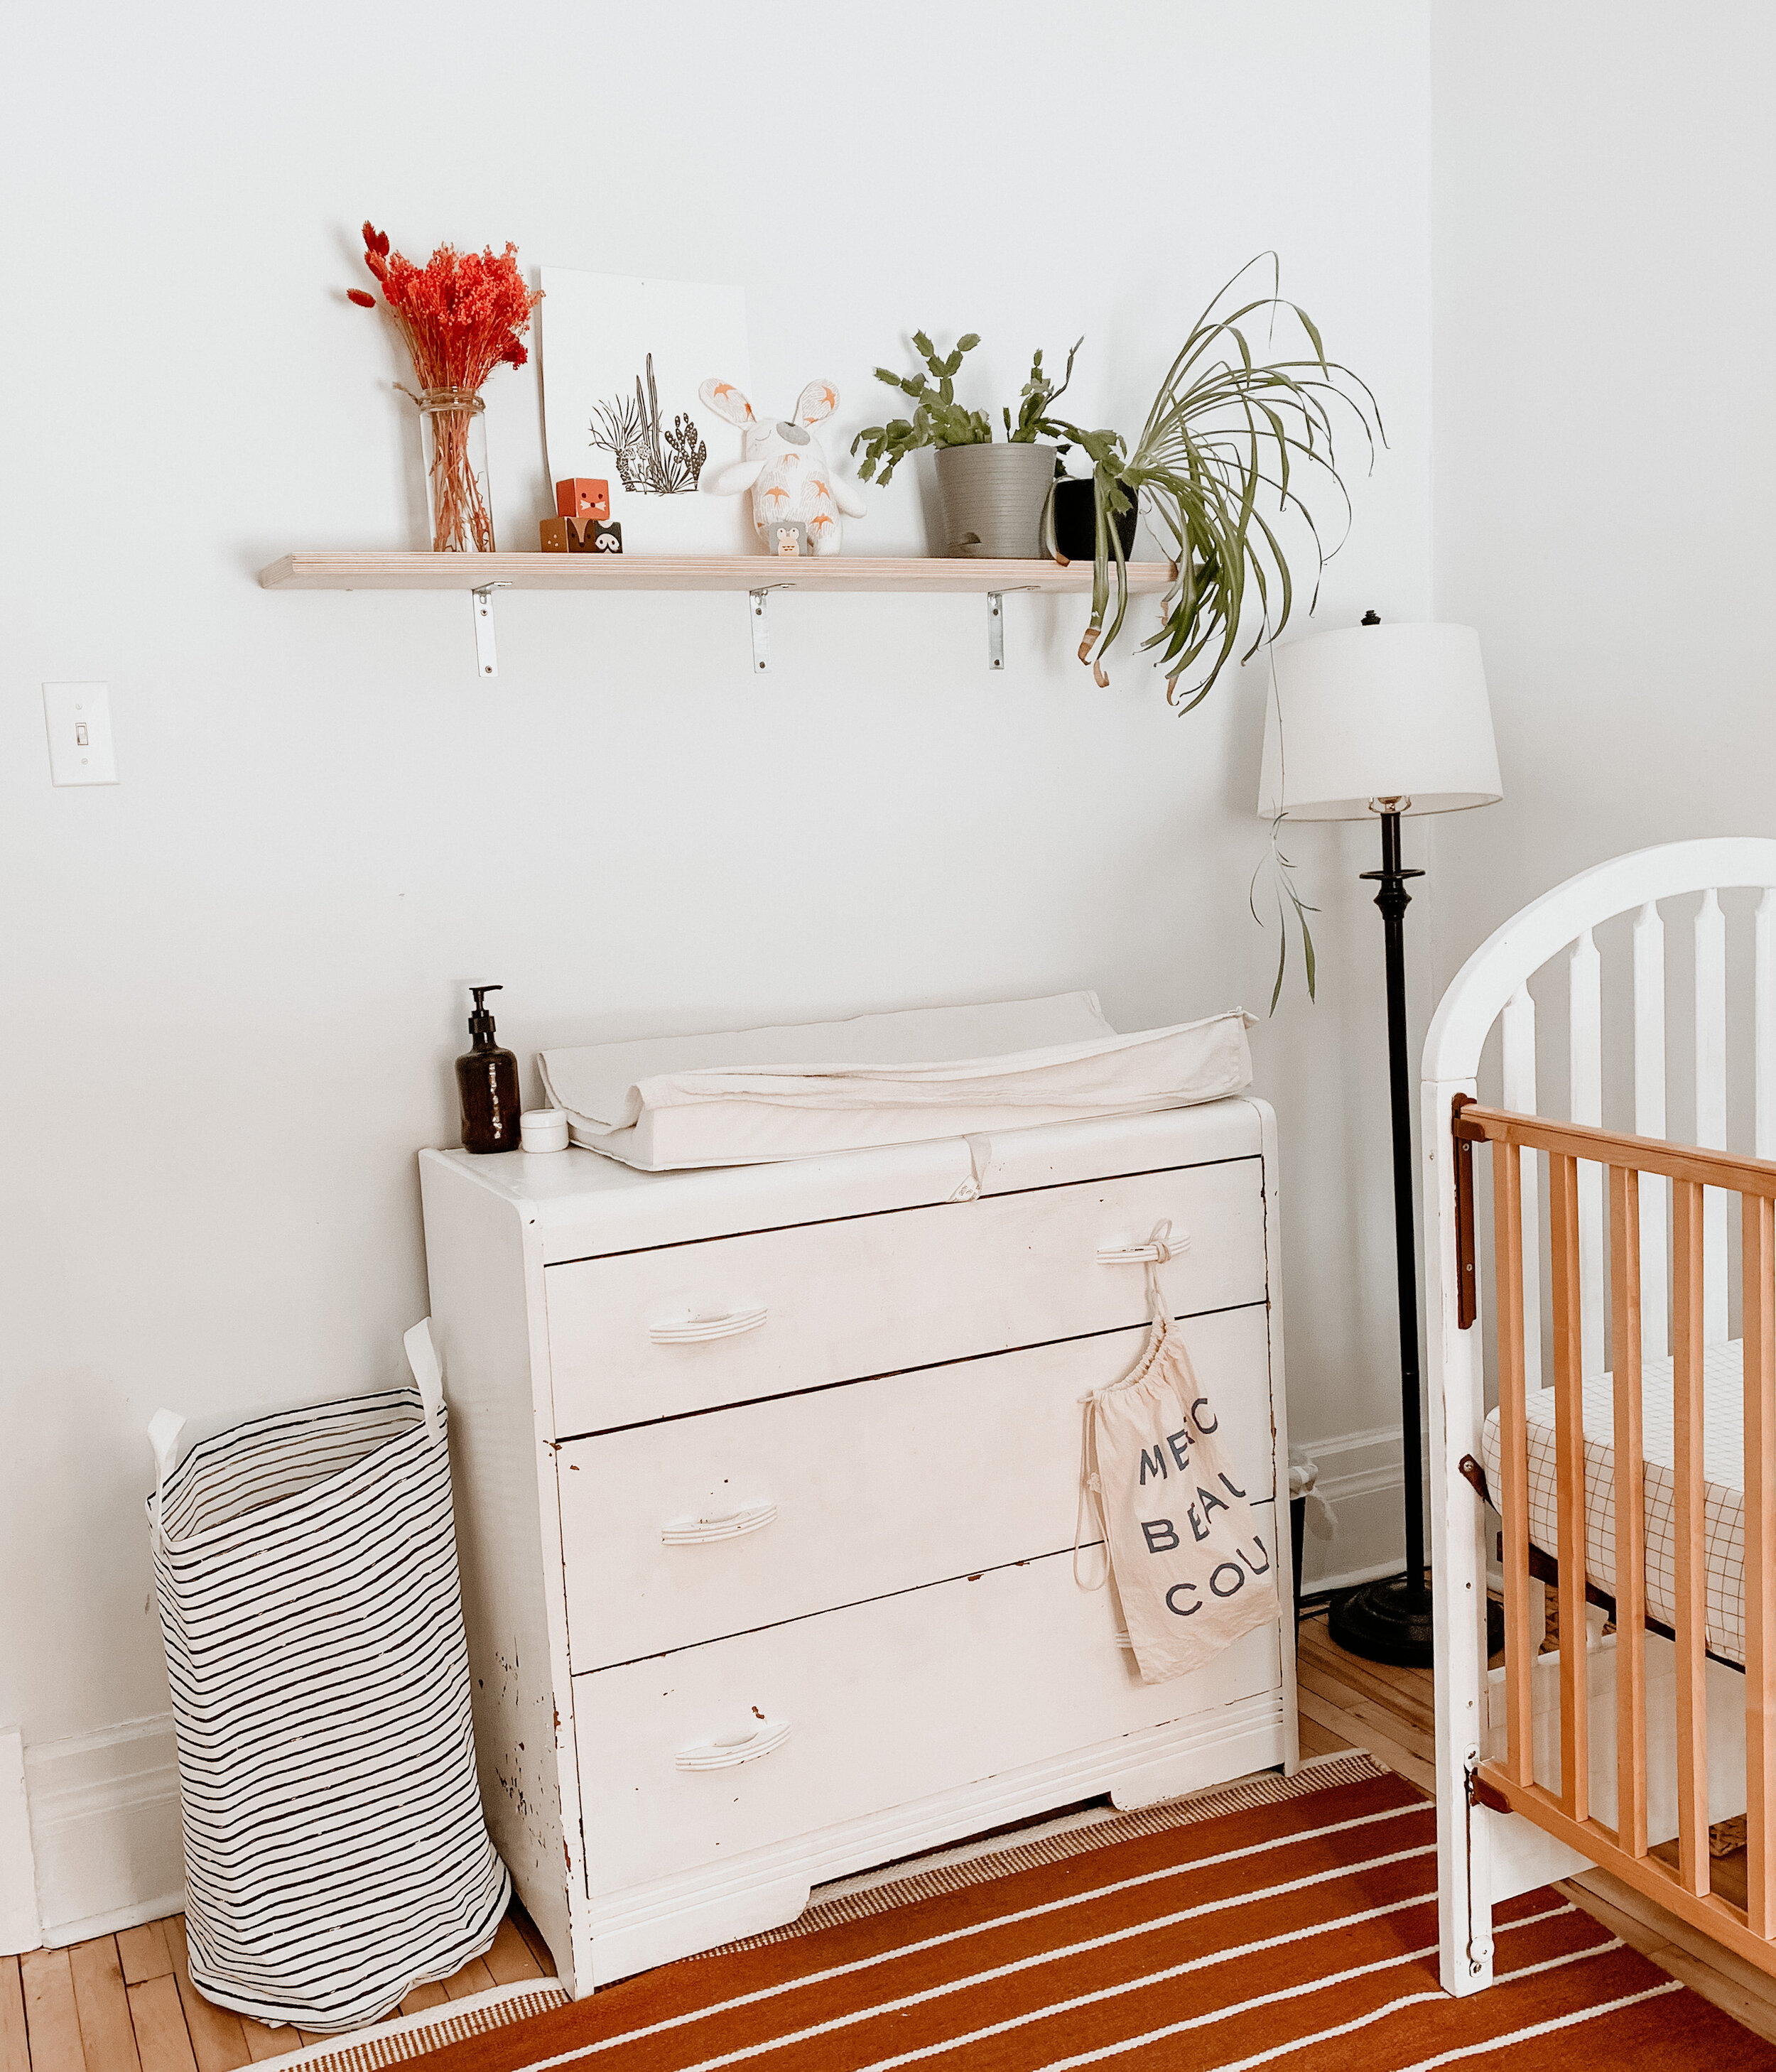
As you can probably see, this is a tiny room! (And sharp eyes will spot that I took these photos on different days, ha.) We’ve really had to squish the basics in here. To give you an idea of how tiny it is: in our previous apartment, Benji’s room had this crib and dresser/changing table, PLUS a queen-sized bed AND a rocking chair, all with room to spare!
When it was our bedroom, we had managed to squeeze our queen-sized bed and our homemade closet system, with just enough room to navigate around the bed. It was… cozy.
The extra bed serves the triple purposes of 1) it was where I “slept” during those first months of newborn life - read: round-the-clock feedings…thankfully in the past!! woohoo, back to my own bed and actual sleep, now; 2) a guest bed on the rare occasion we have an overnight stay of one person, ha, and 3) Léo’s eventual big kid bed.
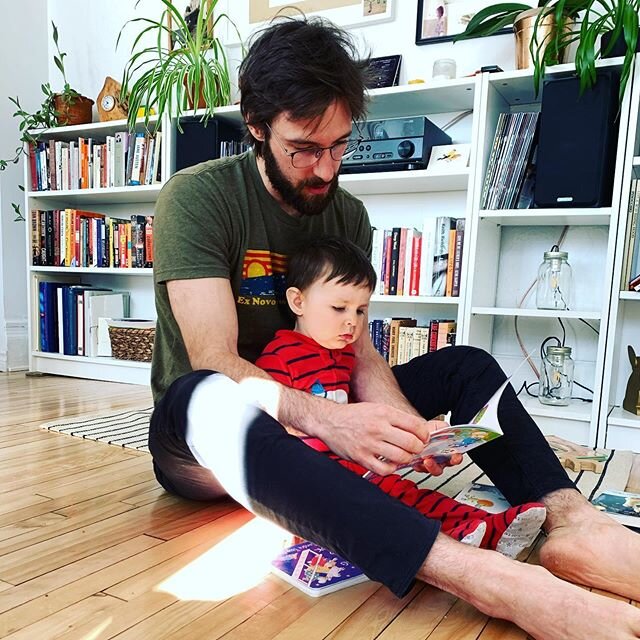
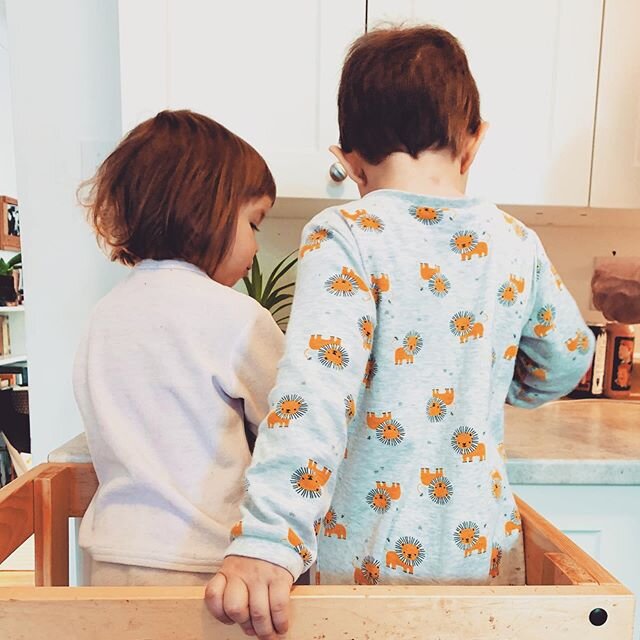
Maybe you’re thinking, why not just put the kids in the same room? And the answer to that is tied closely to our sleep-training preferences. A controversial topic as any parent will admit, we learned early on with Benji that teaching the baby to sleep on his own from as early an age as possible is what works best for our family, especially with Mat’s demanding university schedule. The sleep-training technique we use doesn’t work unless the baby has his own quiet space that can be closed-off. And really, we find that we all sleep better with our own space. I do love the idea of the boys having a shared room with adorable, slightly over-styled bunk beds one day, but to get there, it’s best they learn to sleep well first. At these young ages, it can sometimes feel like “whack-a-mole” during the night, trying to put one back to sleep while the other one is waking up.
The rooms we left un-shuffled are Benji’s and the kitchen (and also the bathroom, but it’s nothing to take pictures of…I spruce it up as much as I can with Aesop products and dried flowers, but really, you’re not missing anything).
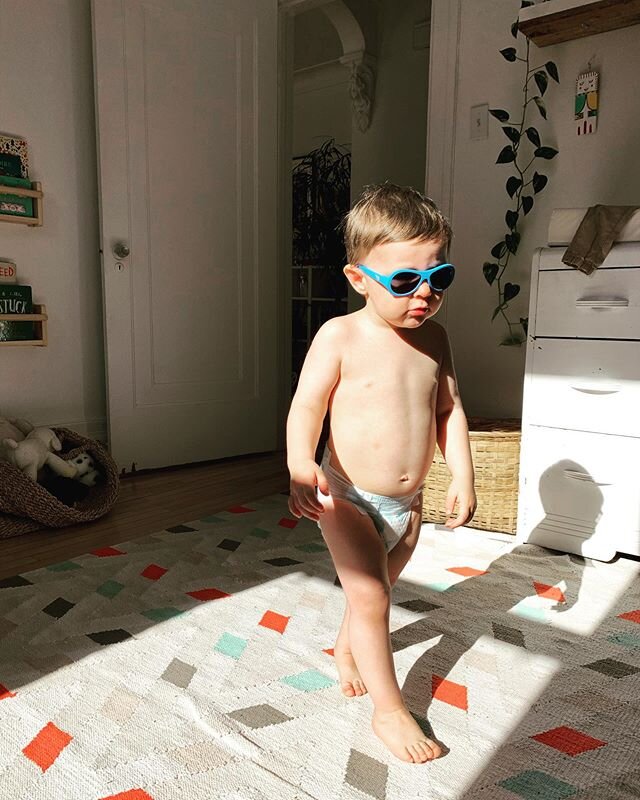
Benji’s Room

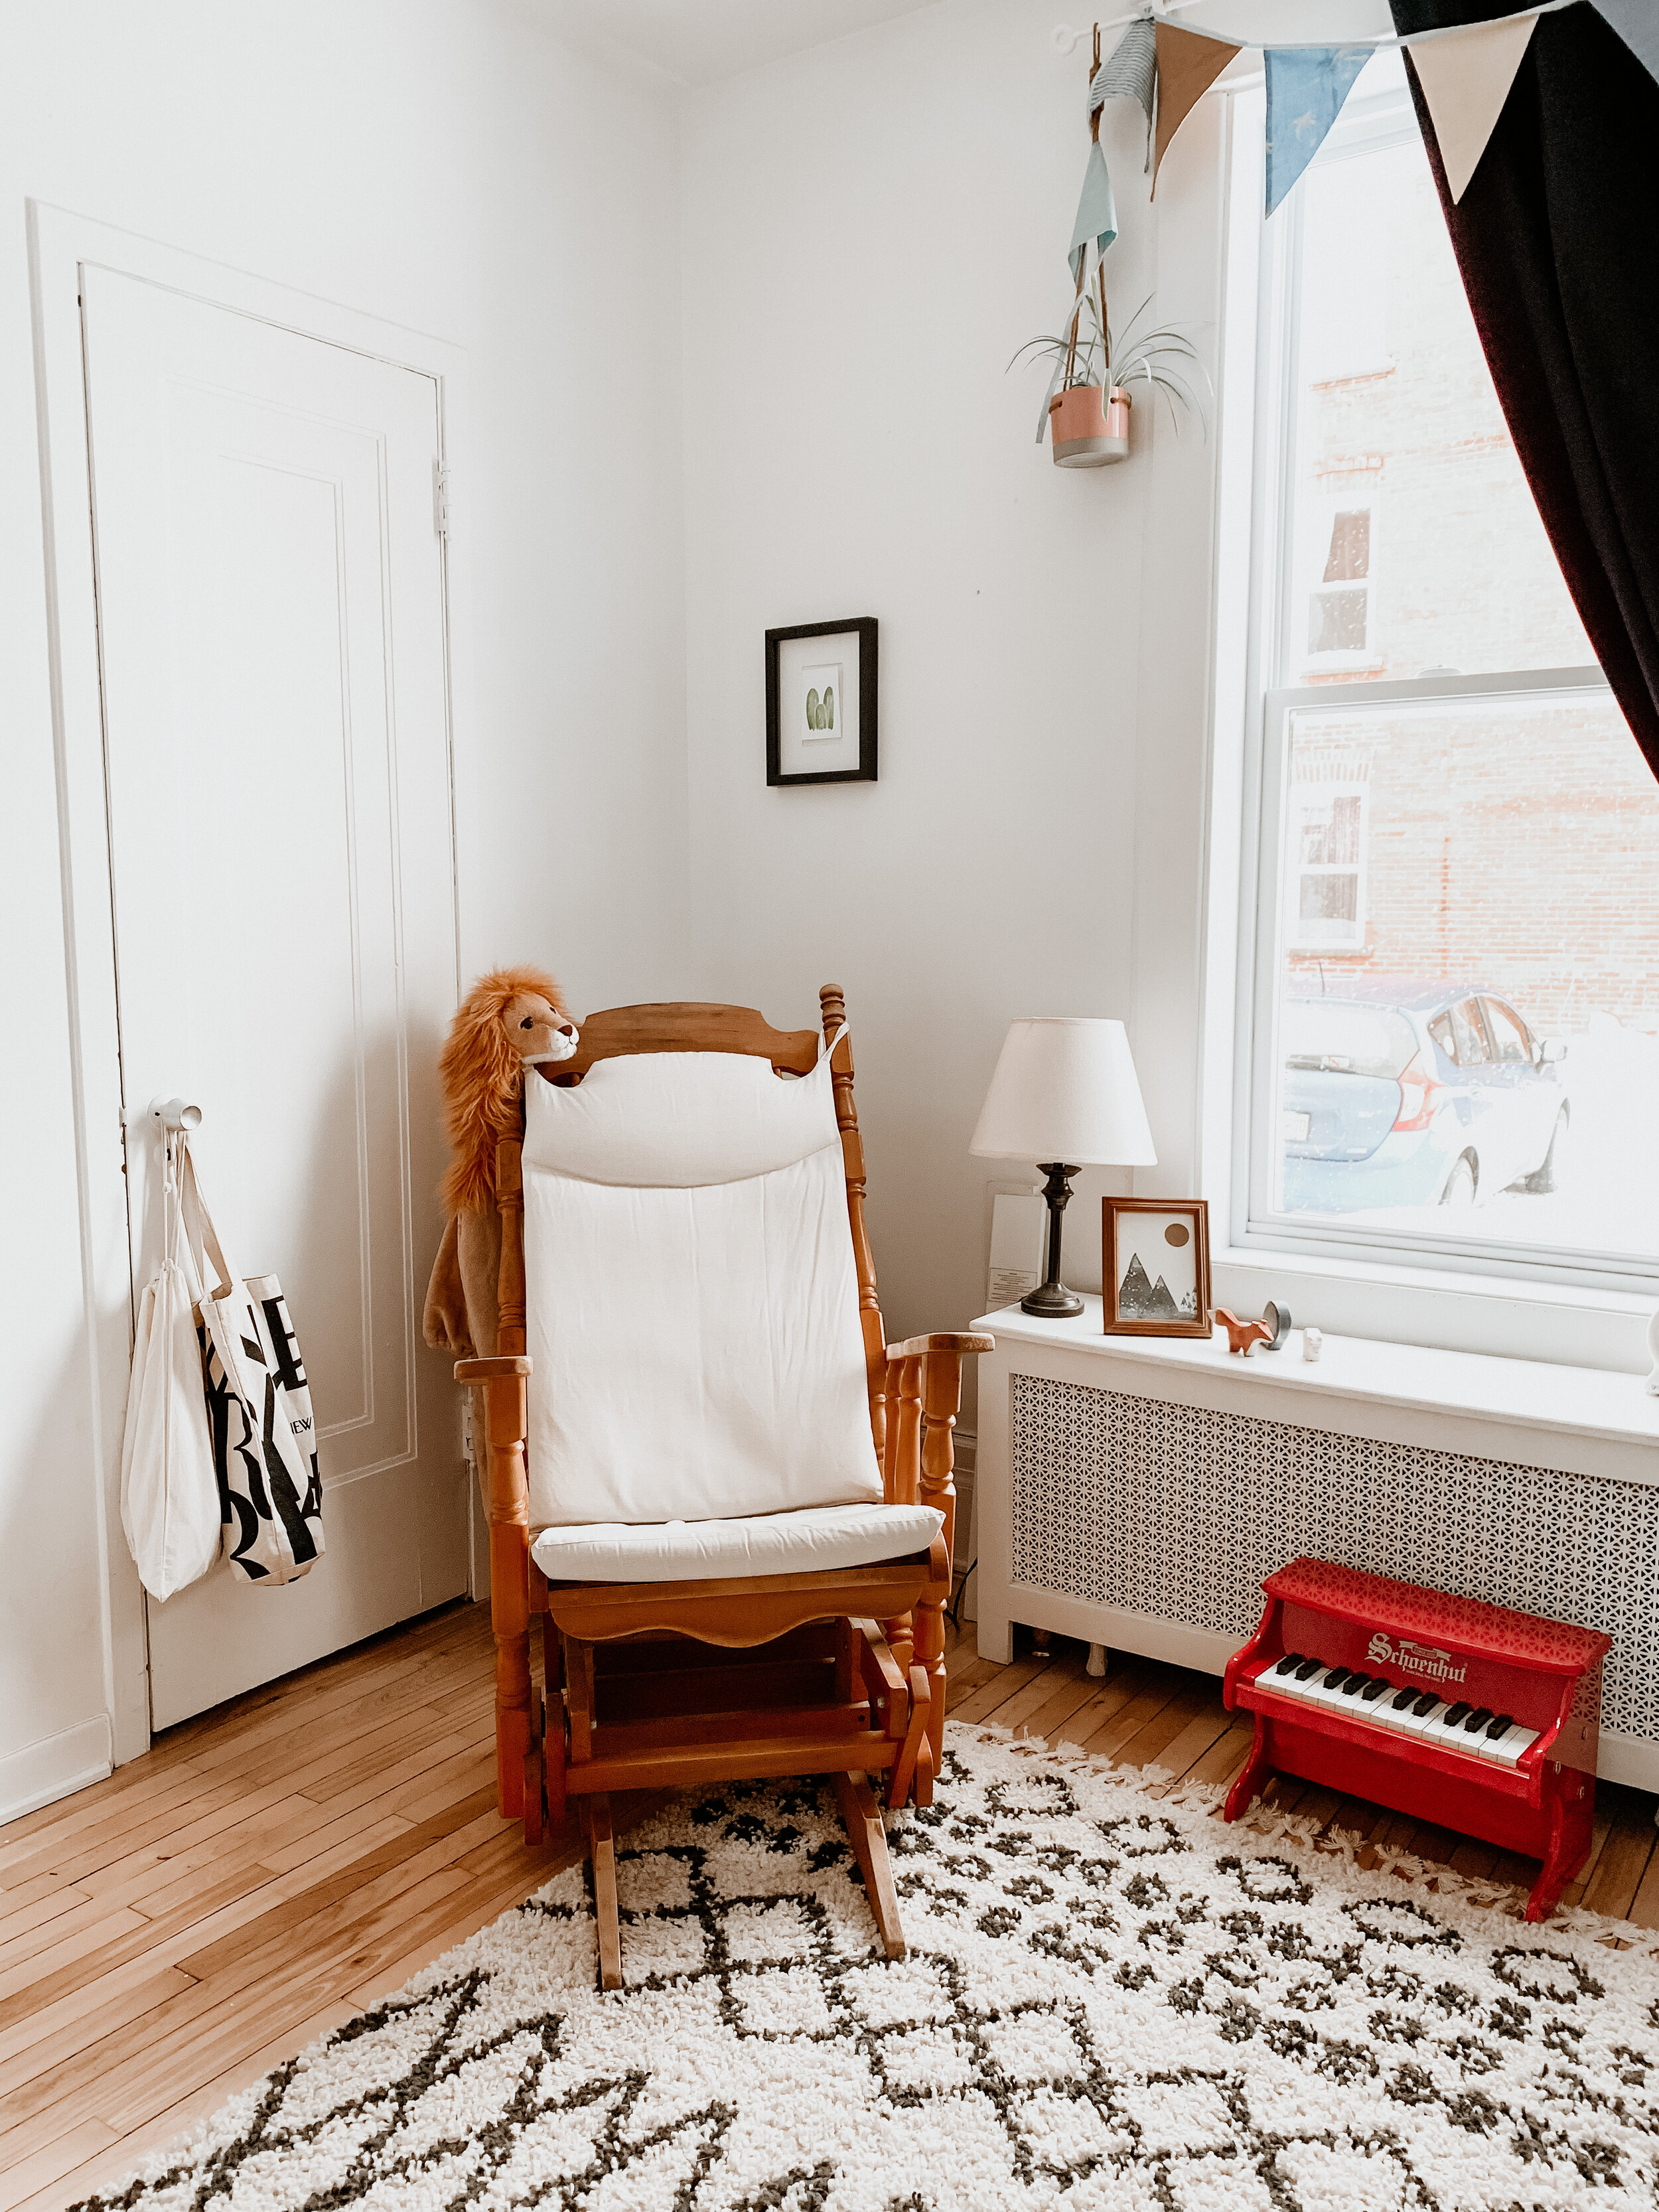
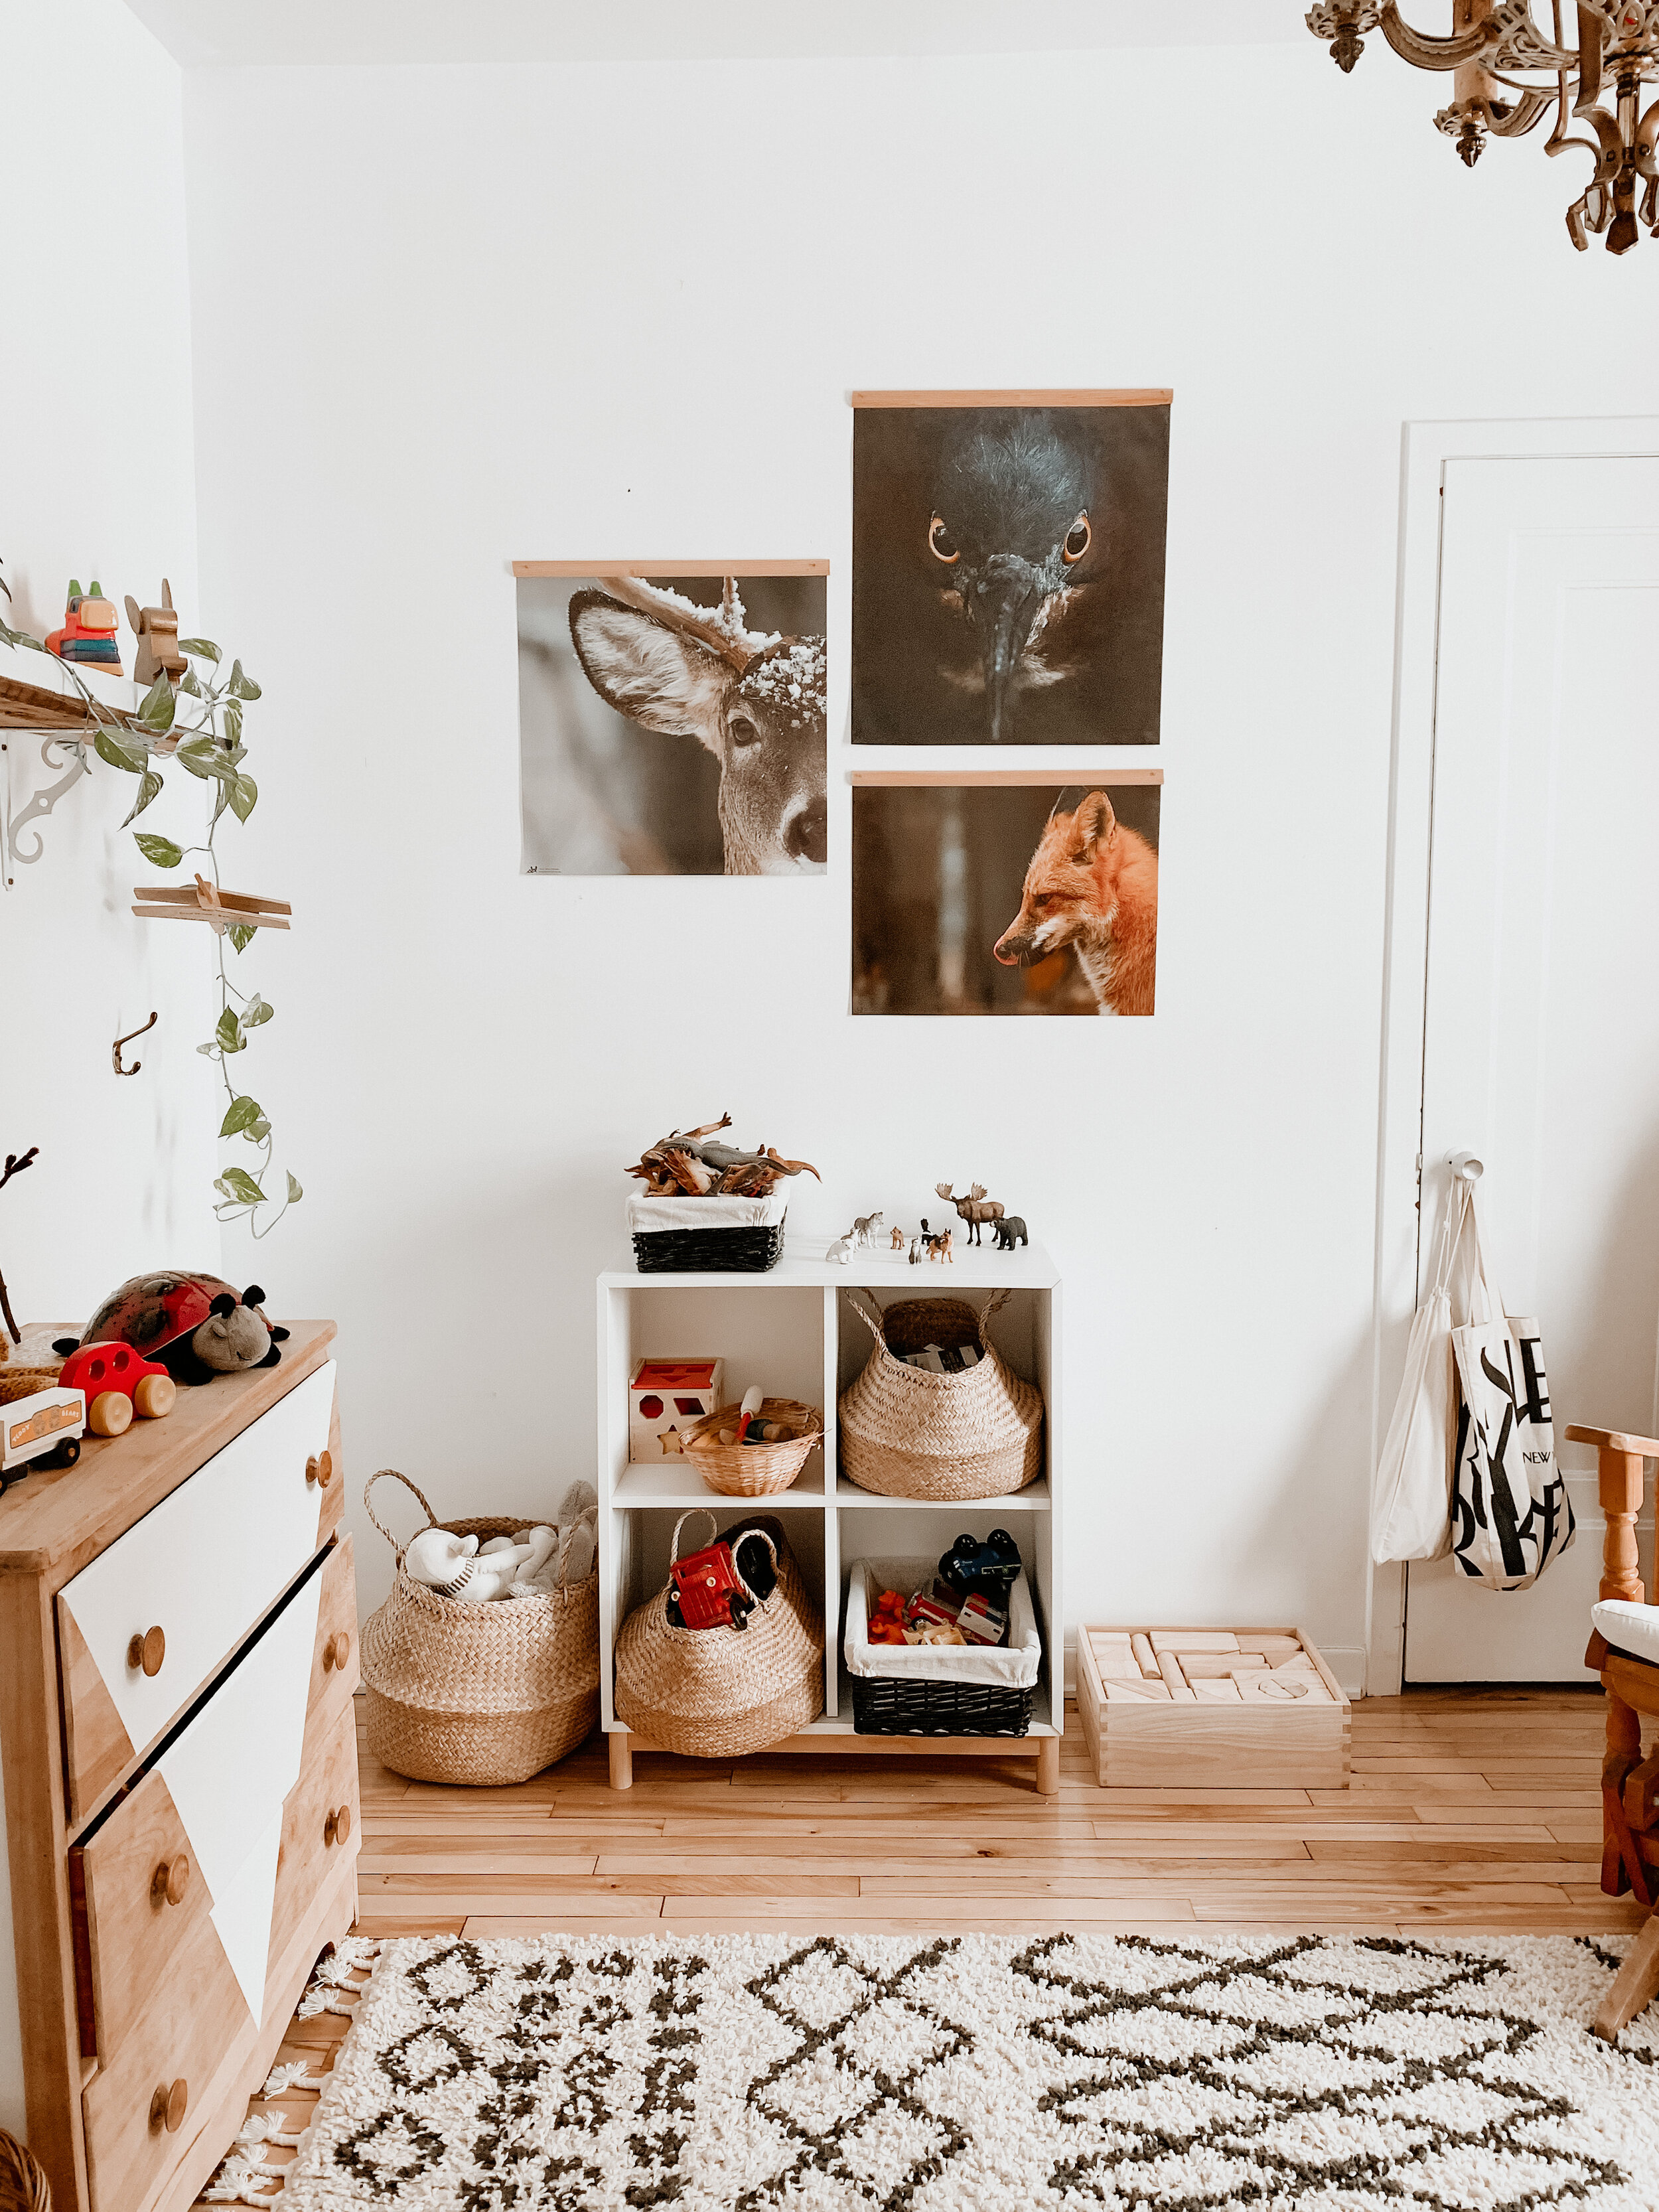
I love his room when I’m able to keep it under control… which is not very often, I must admit! Most days it’s strewn with stuffed animals, stickers (pro tip: never, EVER give a 2-year-old a sticker book), and various toys of the car and truck variety. I’ve found that baskets are the key to keeping a certain amount of control over the chaos. Just don’t ask to see in the closet. (Danger!)
(These gorgeous animal photos are from a Québec photographer Mat follows.)
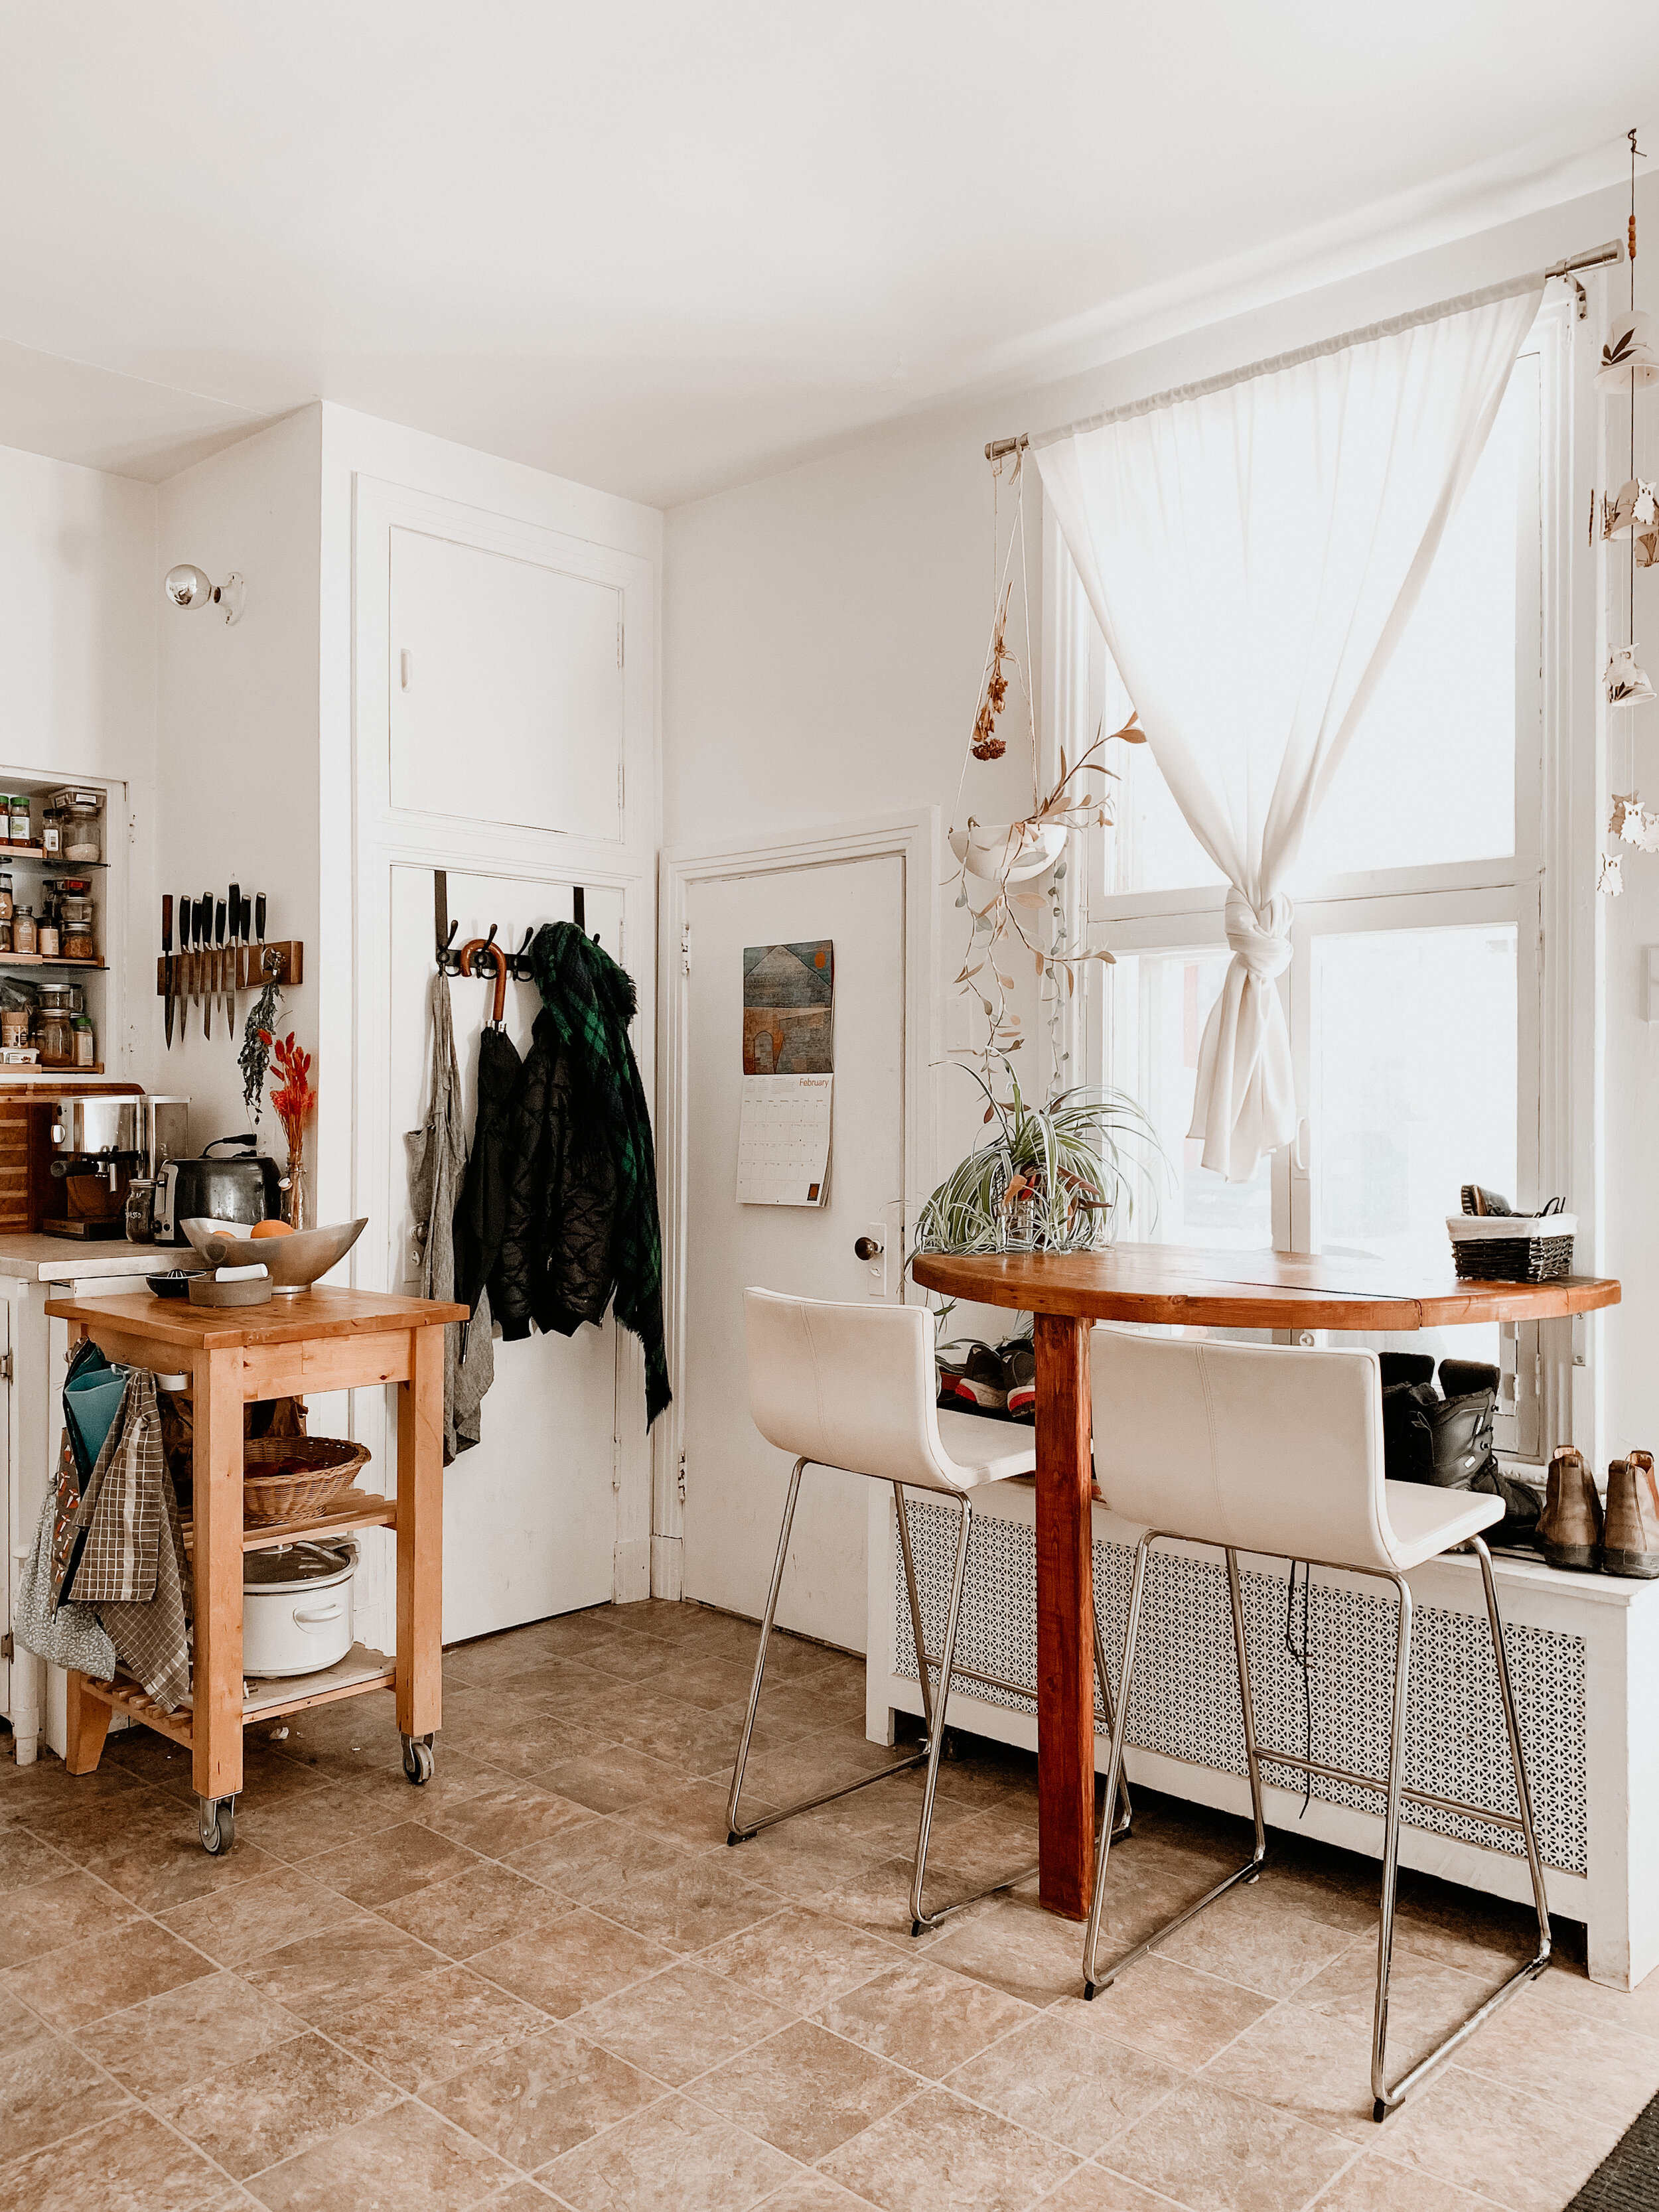
Kitchen
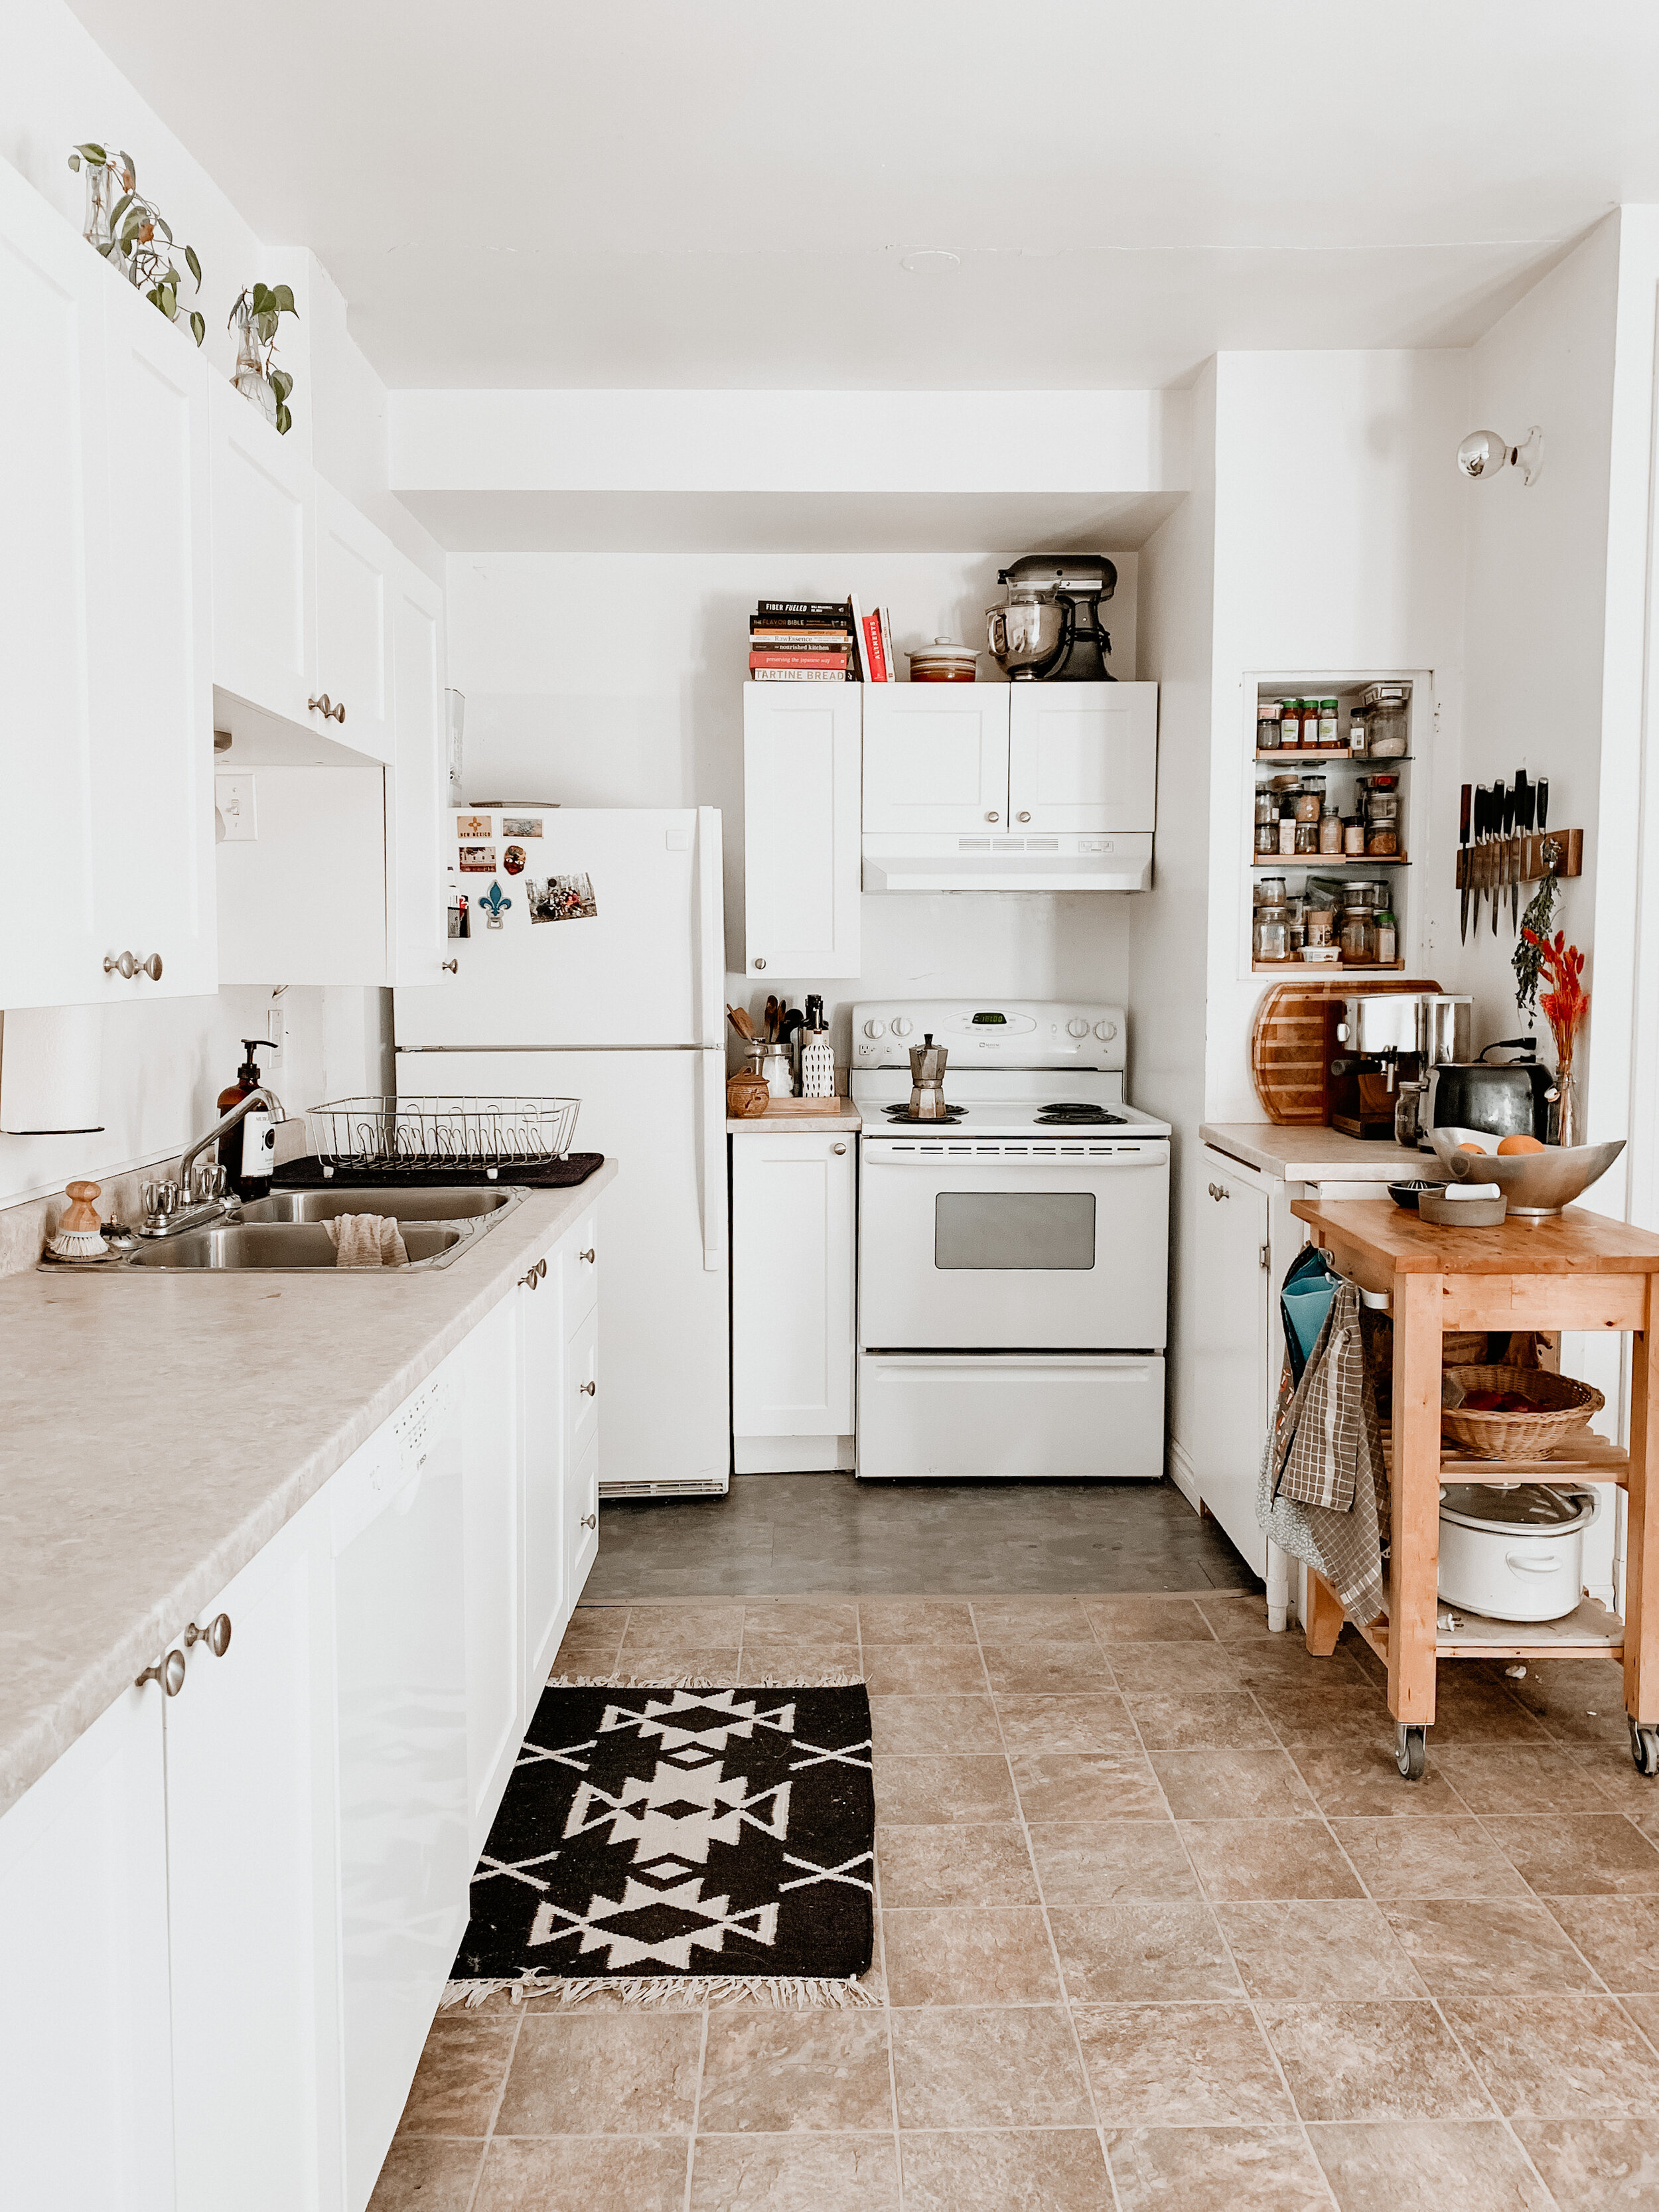

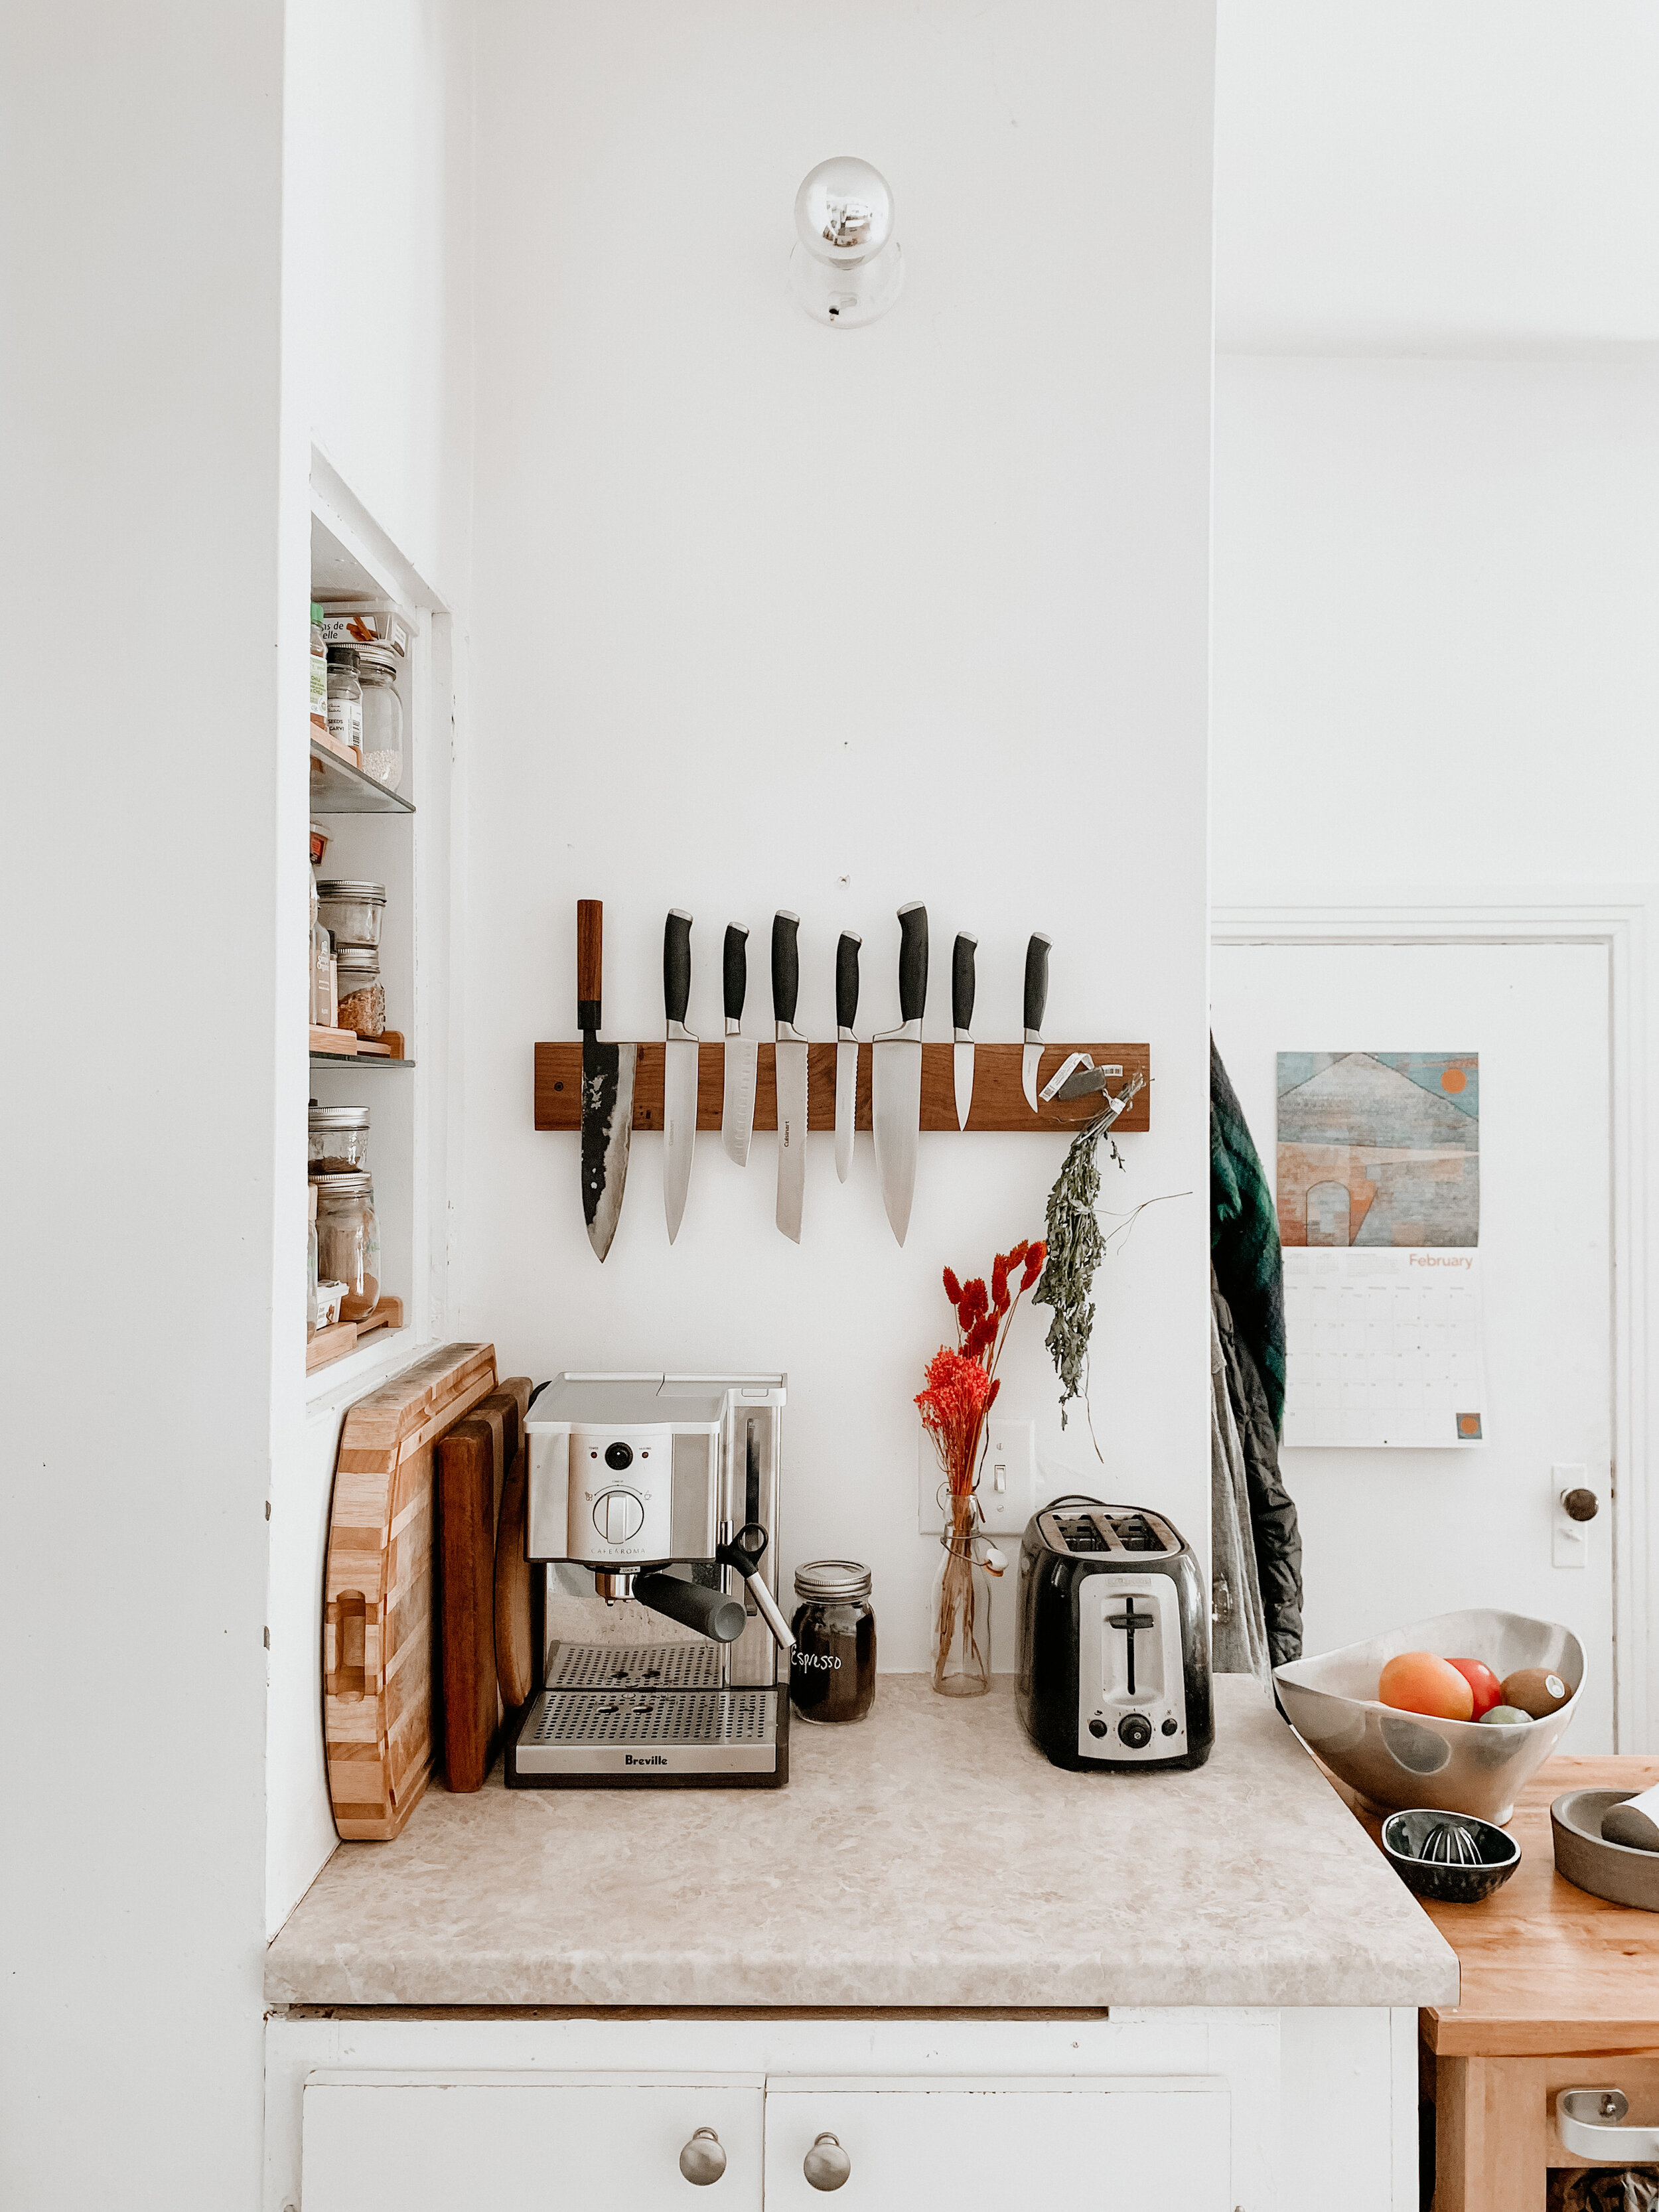
(Truth time: These photos represent an “enhanced” reality… this kitchen is typically packed with the whole family’s fall/winter coat collection, a couple of strollers, other random things we don’t have closet space for; the dryer almost always has odds and ends stacked on it… but who wants to see that? So, I gently shoved these things into the peripheries for you…:D)
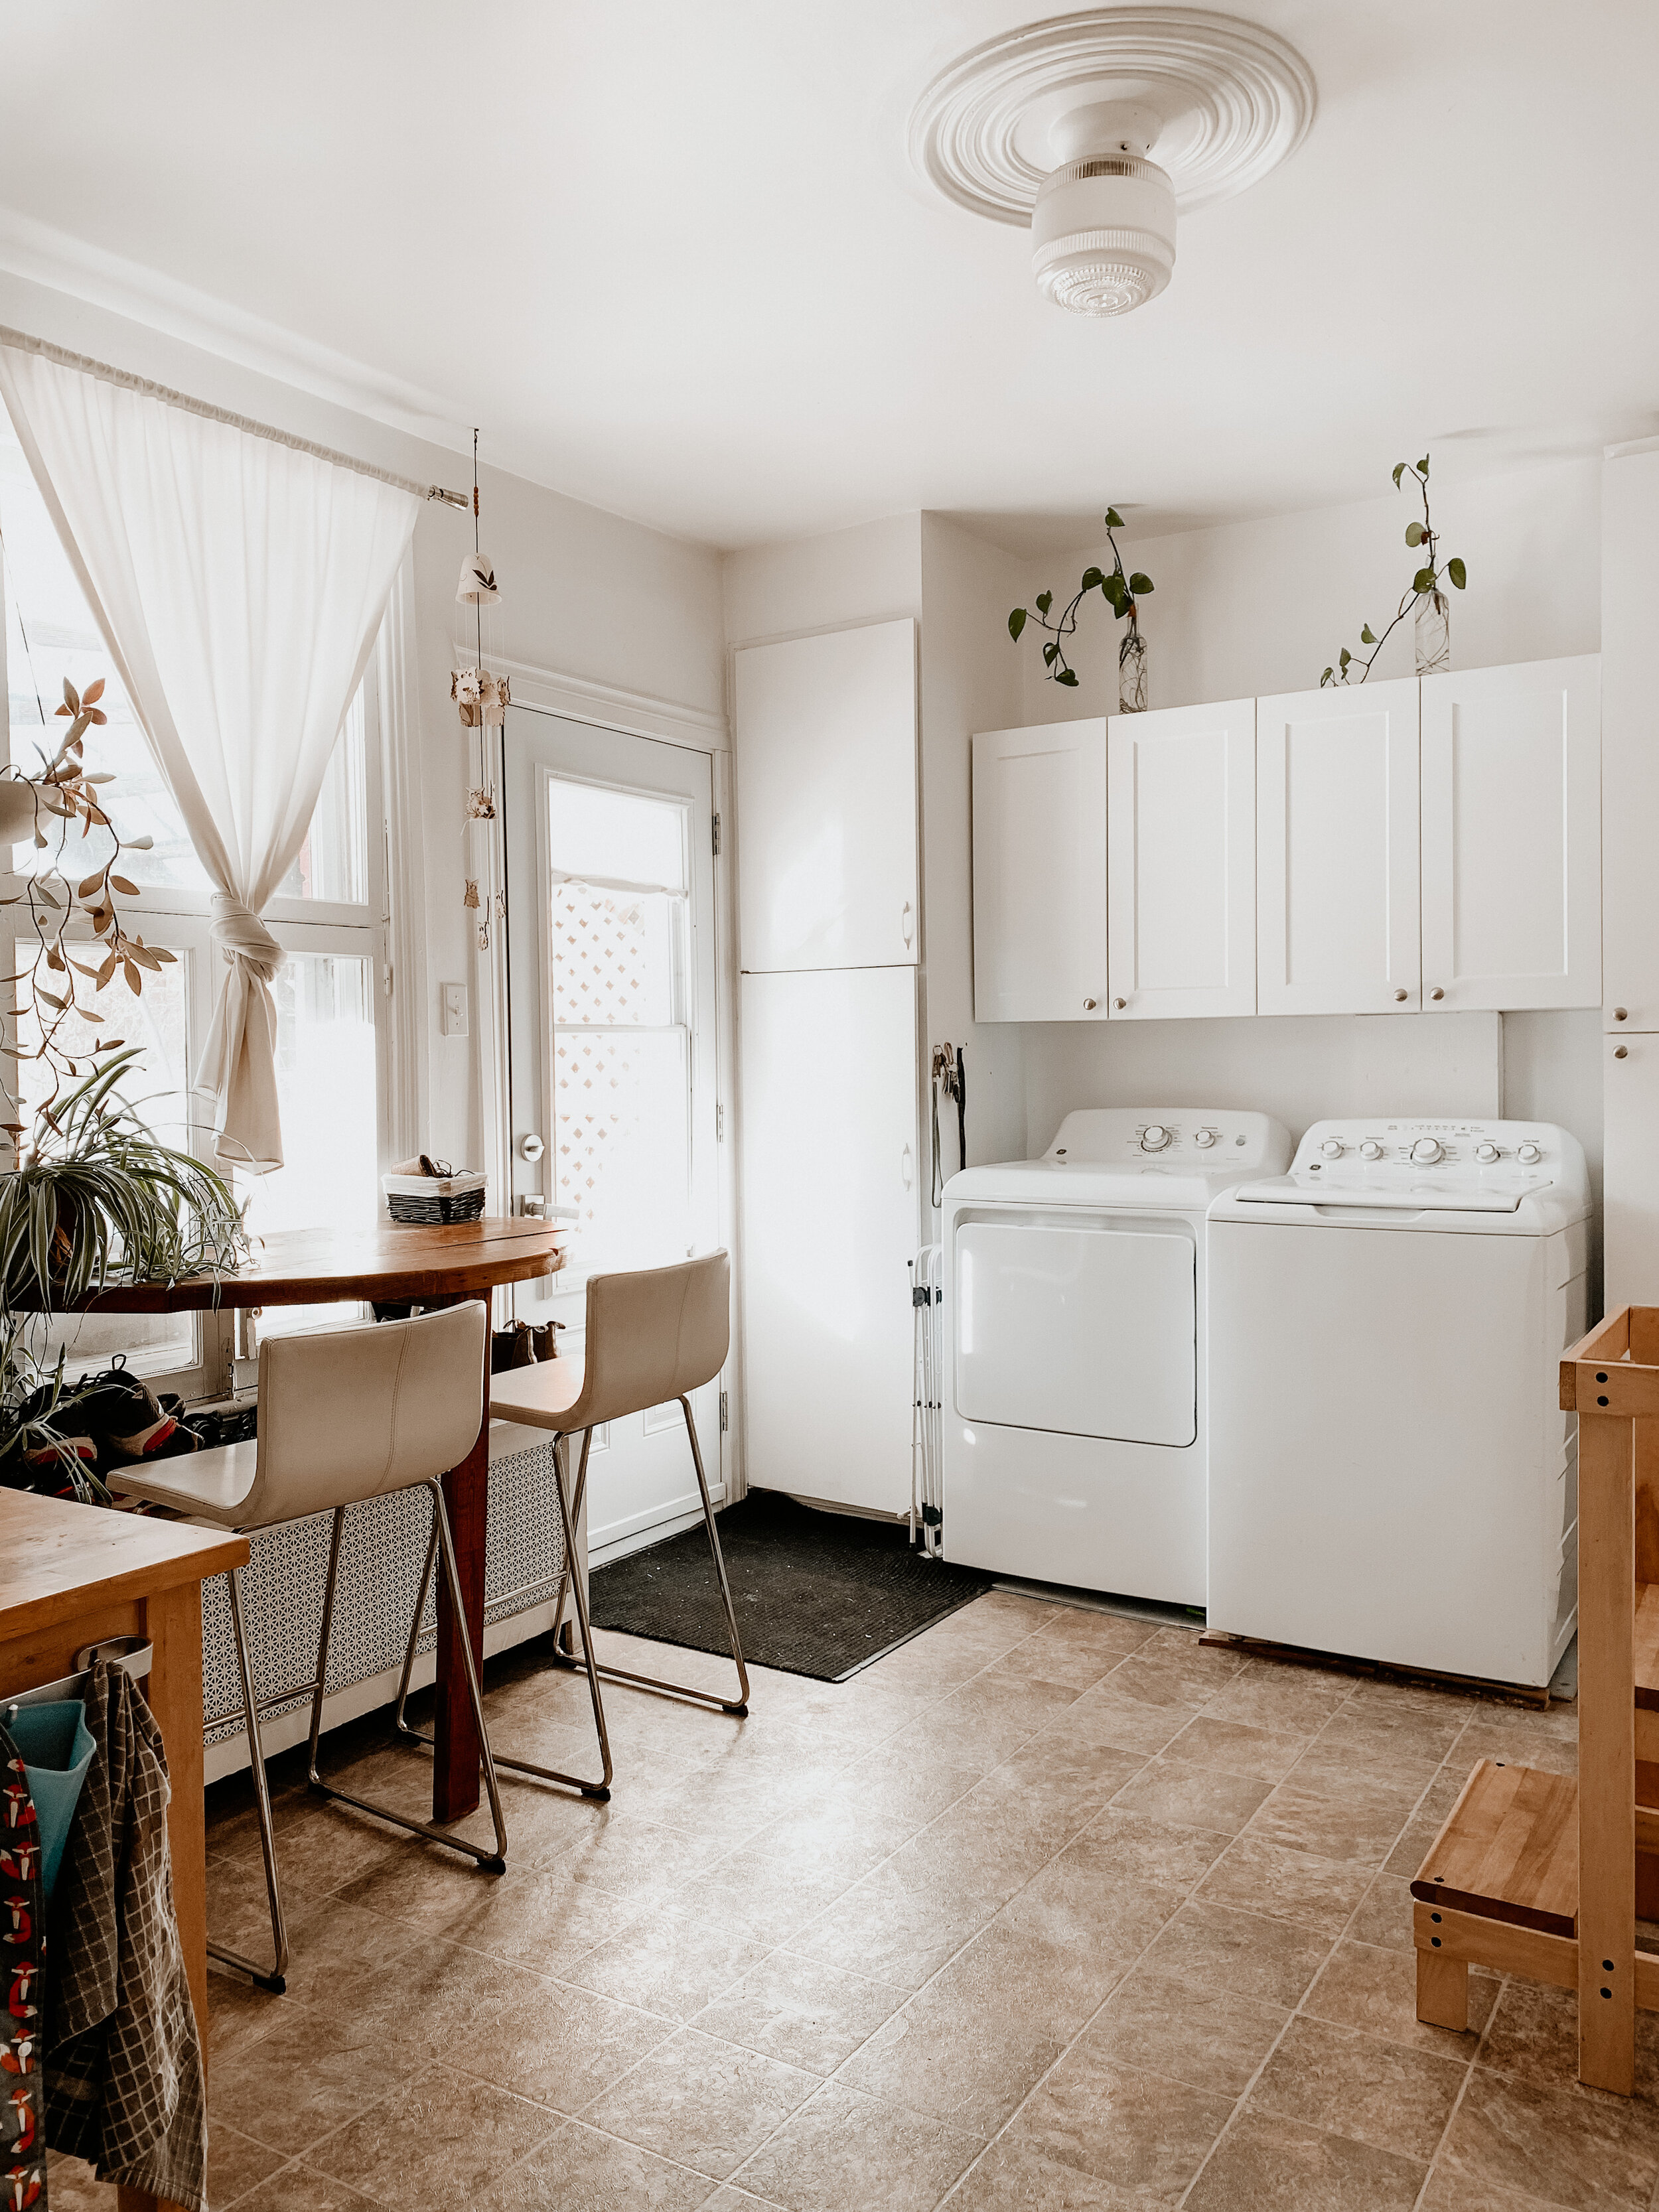
We ask a lot of our kitchen: main entryway, coat-hold/mudroom, not to mention laundry room. Needless to say, it’s very difficult to keep this room in order. Unsurprisingly, it’s my least favorite of the whole place.
We’d been kind of lucky with our last two apartments having pretty decent kitchens. They were very sunlit (this one, with its one window, is dark most of the day), had nice floors (here we have some depressing grey linoleum), and the laundry rooms were… existent. That is to say, they had laundry rooms.
Begin side rant:
WHO THOUGHT PUTTING LAUNDRY HOOK-UPS IN THE MIDDLE OF THE KITCHEN - WITH NOT EVEN AT LEAST A SLIDING DOOR OR SOMETHING TO COVER THEM - WAS A GOOD IDEA?? In addition to being completely in the way, it is SO LOUD to have your laundry machines out in the open. And then, where are you supposed to hang the laundry that doesn’t go in the dryer? Who’s idea?? WHO? WHO??? (A man, surely!!!)
Ok, end rant.
All things considered, I’m pretty proud of the way the place has come together. Though I can’t say I’m not looking forward to having a house one day, with a closed bedroom for everyone. (And a laundry room!)
So that’s our little place! Come by and see us in 6 months, I’ll have probably shifted some things a few inches to the left. (To be honest, the living room has undergone a few adjustments since I took these photos… two months ago. Ha ha.)
PS: if you have a question about something, feel free to ask! (Or if it’s plant-related, I’d be happy to ask Mat for you. :)) Especially since confinement, I’ve gotten most ideas and things online, so I can easily send a link.